
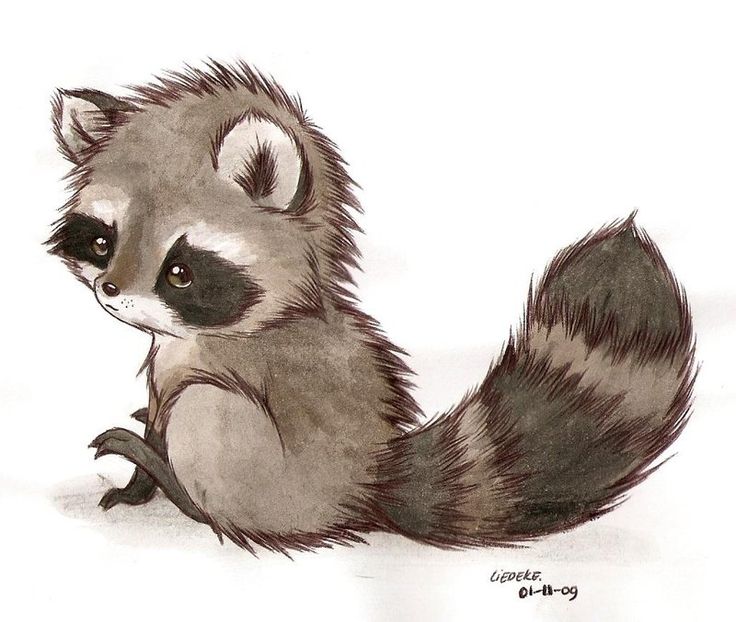
Introduction
Are you a fan of adorable animals? If so, you'll love learning how to draw a cute raccoon! Raccoons are known for their mischievous nature and distinctive markings, making them a popular subject for artists of all skill levels. Whether you're a beginner or an experienced artist, this step-by-step guide will help you create an adorable raccoon drawing that is sure to impress. So grab your pencils and let's get started!
Gathering Your Materials
Before we begin, it's important to gather all the necessary materials. You'll need a pencil, eraser, drawing paper, and some colored pencils or markers if you want to add a pop of color to your raccoon drawing. Having all your materials ready will make the drawing process much smoother and enjoyable.
Step 1: Drawing the Basic Shapes

Start by drawing a large oval shape for the raccoon's body. This will serve as the foundation for your drawing. Next, add a smaller oval shape on top of the body for the head. Remember to leave enough space for the facial features later on. Finally, draw four small circles on the bottom of the body for the raccoon's paws.
Step 2: Adding the Facial Features

Now it's time to bring your raccoon to life by adding the facial features. Draw two large circles for the eyes, leaving a small space in between them. Inside each eye, draw a smaller circle for the pupils. Next, draw a small triangular shape for the nose and a curved line for the mouth. Don't forget to add some small curved lines above the eyes to represent the raccoon's mask.
Step 3: Detailing the Face
To make your raccoon drawing even cuter, let's add some details to the face. Draw two small circles inside each eye to represent highlights. This will give your raccoon's eyes a lively and adorable look. Next, draw some curved lines around the eyes and nose to define the fur. Take your time with this step, as the details will greatly enhance the overall appearance of your raccoon drawing.
Step 4: Drawing the Ears and Tail

Raccoons are known for their distinctive ears and fluffy tails, so let's make sure to include them in our drawing. Draw two pointy ears on top of the raccoon's head, making them slightly larger than the head itself. For the tail, draw a long and fluffy shape behind the body, extending it outward. Adding these features will give your raccoon drawing a playful and characteristic appearance.
Step 5: Adding Fur Details

To make your raccoon drawing look even more realistic, it's time to add some fur details. Use short, curved lines to create texture and define the fur on the body, head, and tail. Take your time and experiment with different stroke lengths to achieve a natural and fluffy look. This step may require some patience, but the end result will be well worth it.
Step 6: Coloring Your Drawing

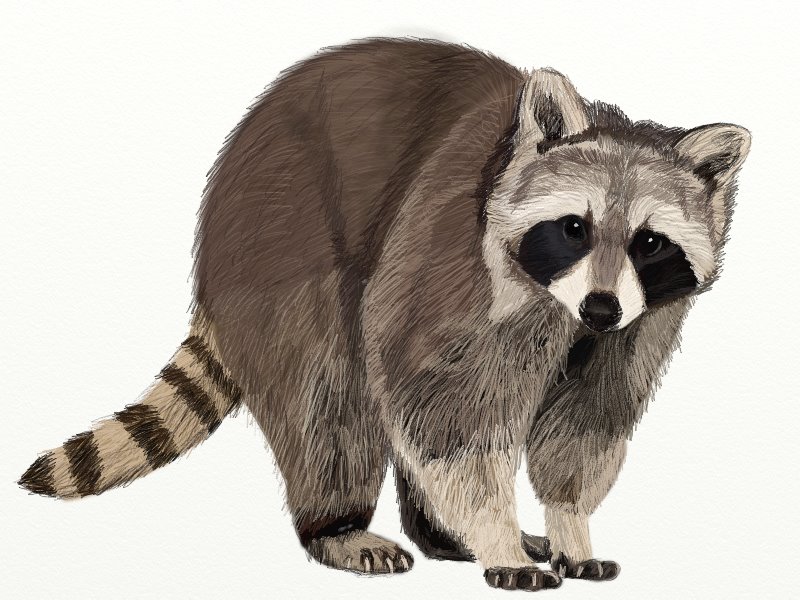
If you want to add some color to your raccoon drawing, now is the perfect time to do so. Use colored pencils or markers to bring your raccoon to life. Raccoons typically have a grayish-brown fur, but don't be afraid to get creative and experiment with different colors. Remember to blend the colors smoothly to create a realistic and vibrant appearance.
Conclusion
Congratulations! You have successfully learned how to draw a cute raccoon. By following these step-by-step instructions, you were able to create an adorable raccoon drawing that showcases the unique charm of these creatures. Remember to practice regularly and have fun with your drawings. With time and dedication, your artistic skills will continue to grow. So keep exploring, keep creating, and keep drawing!
