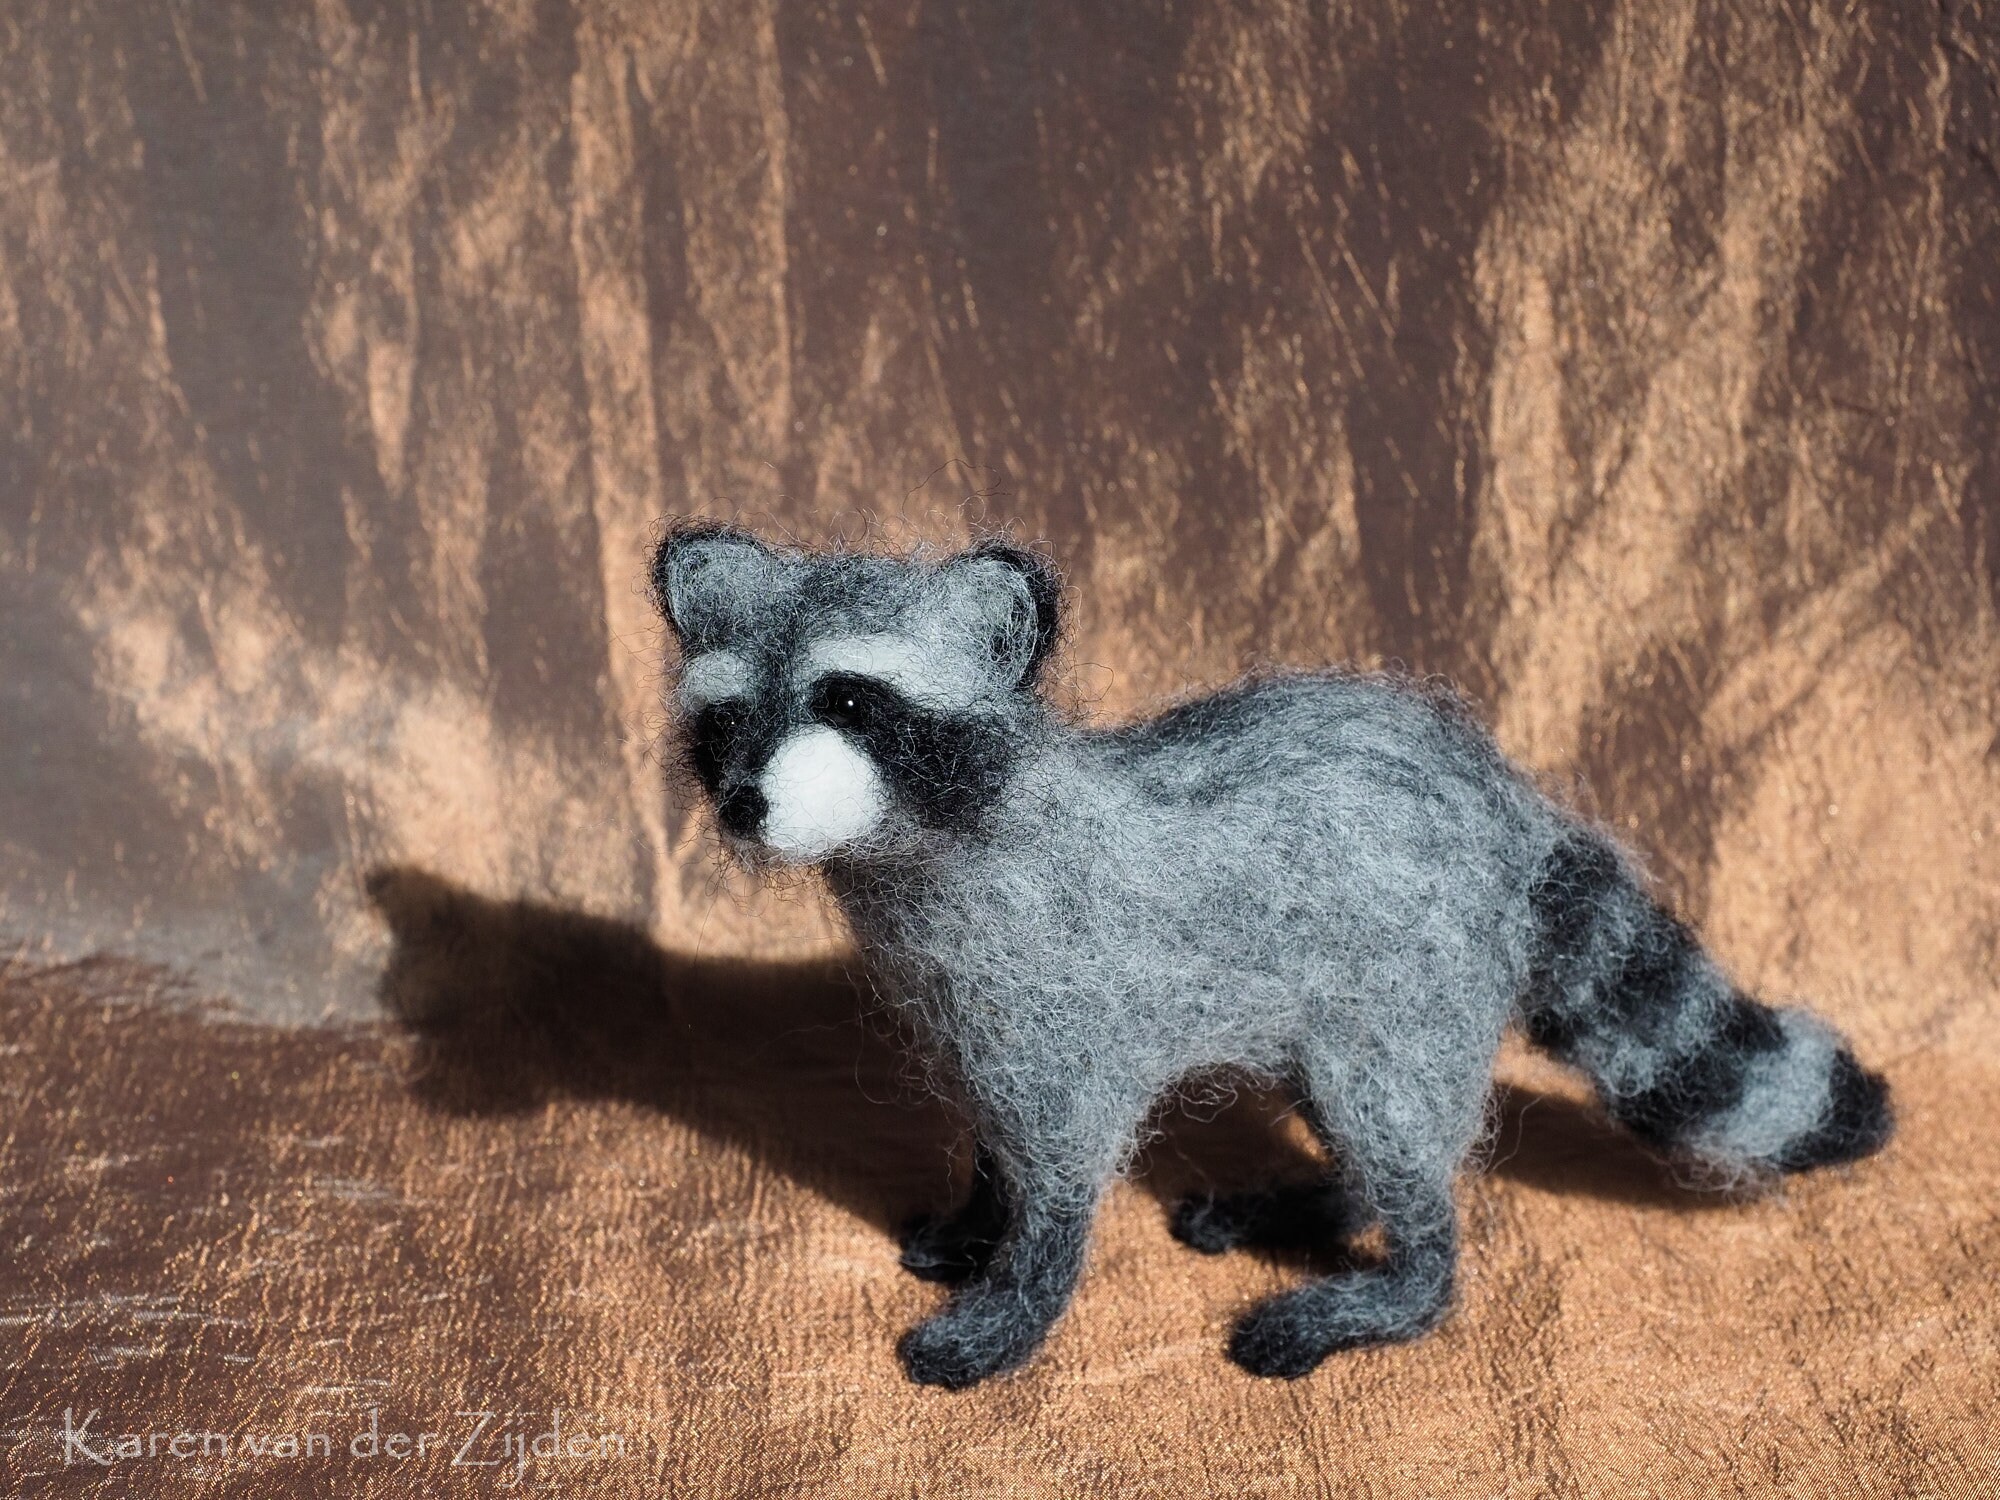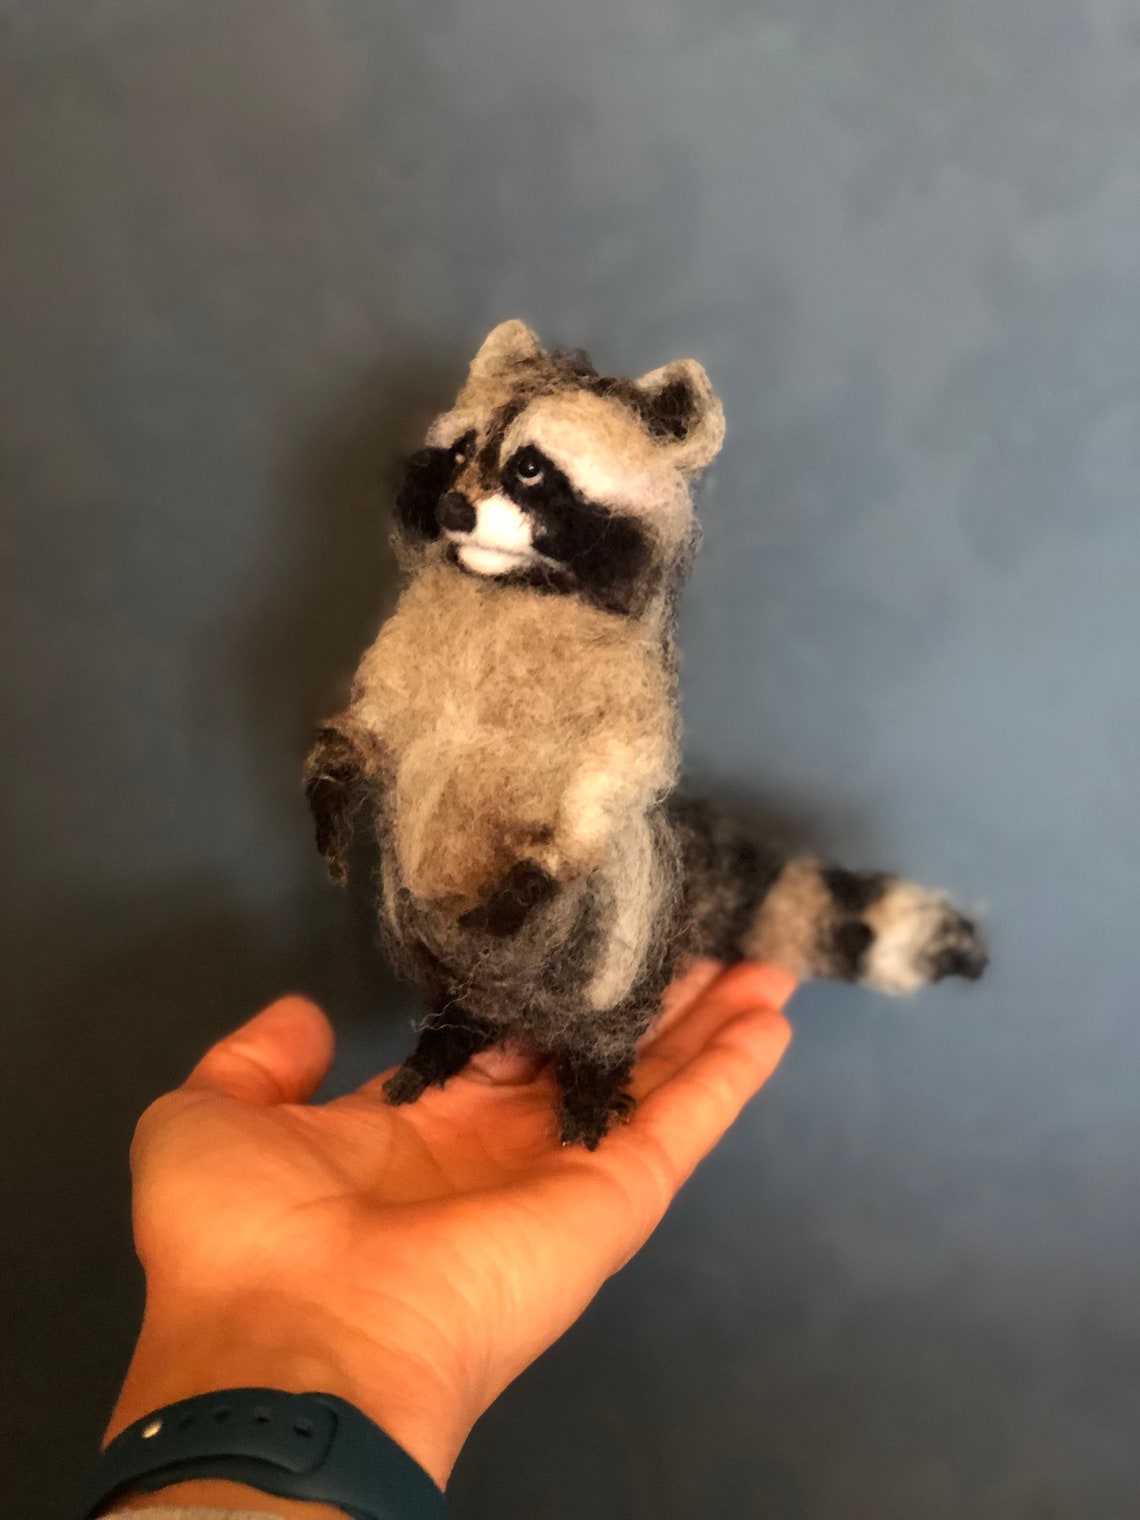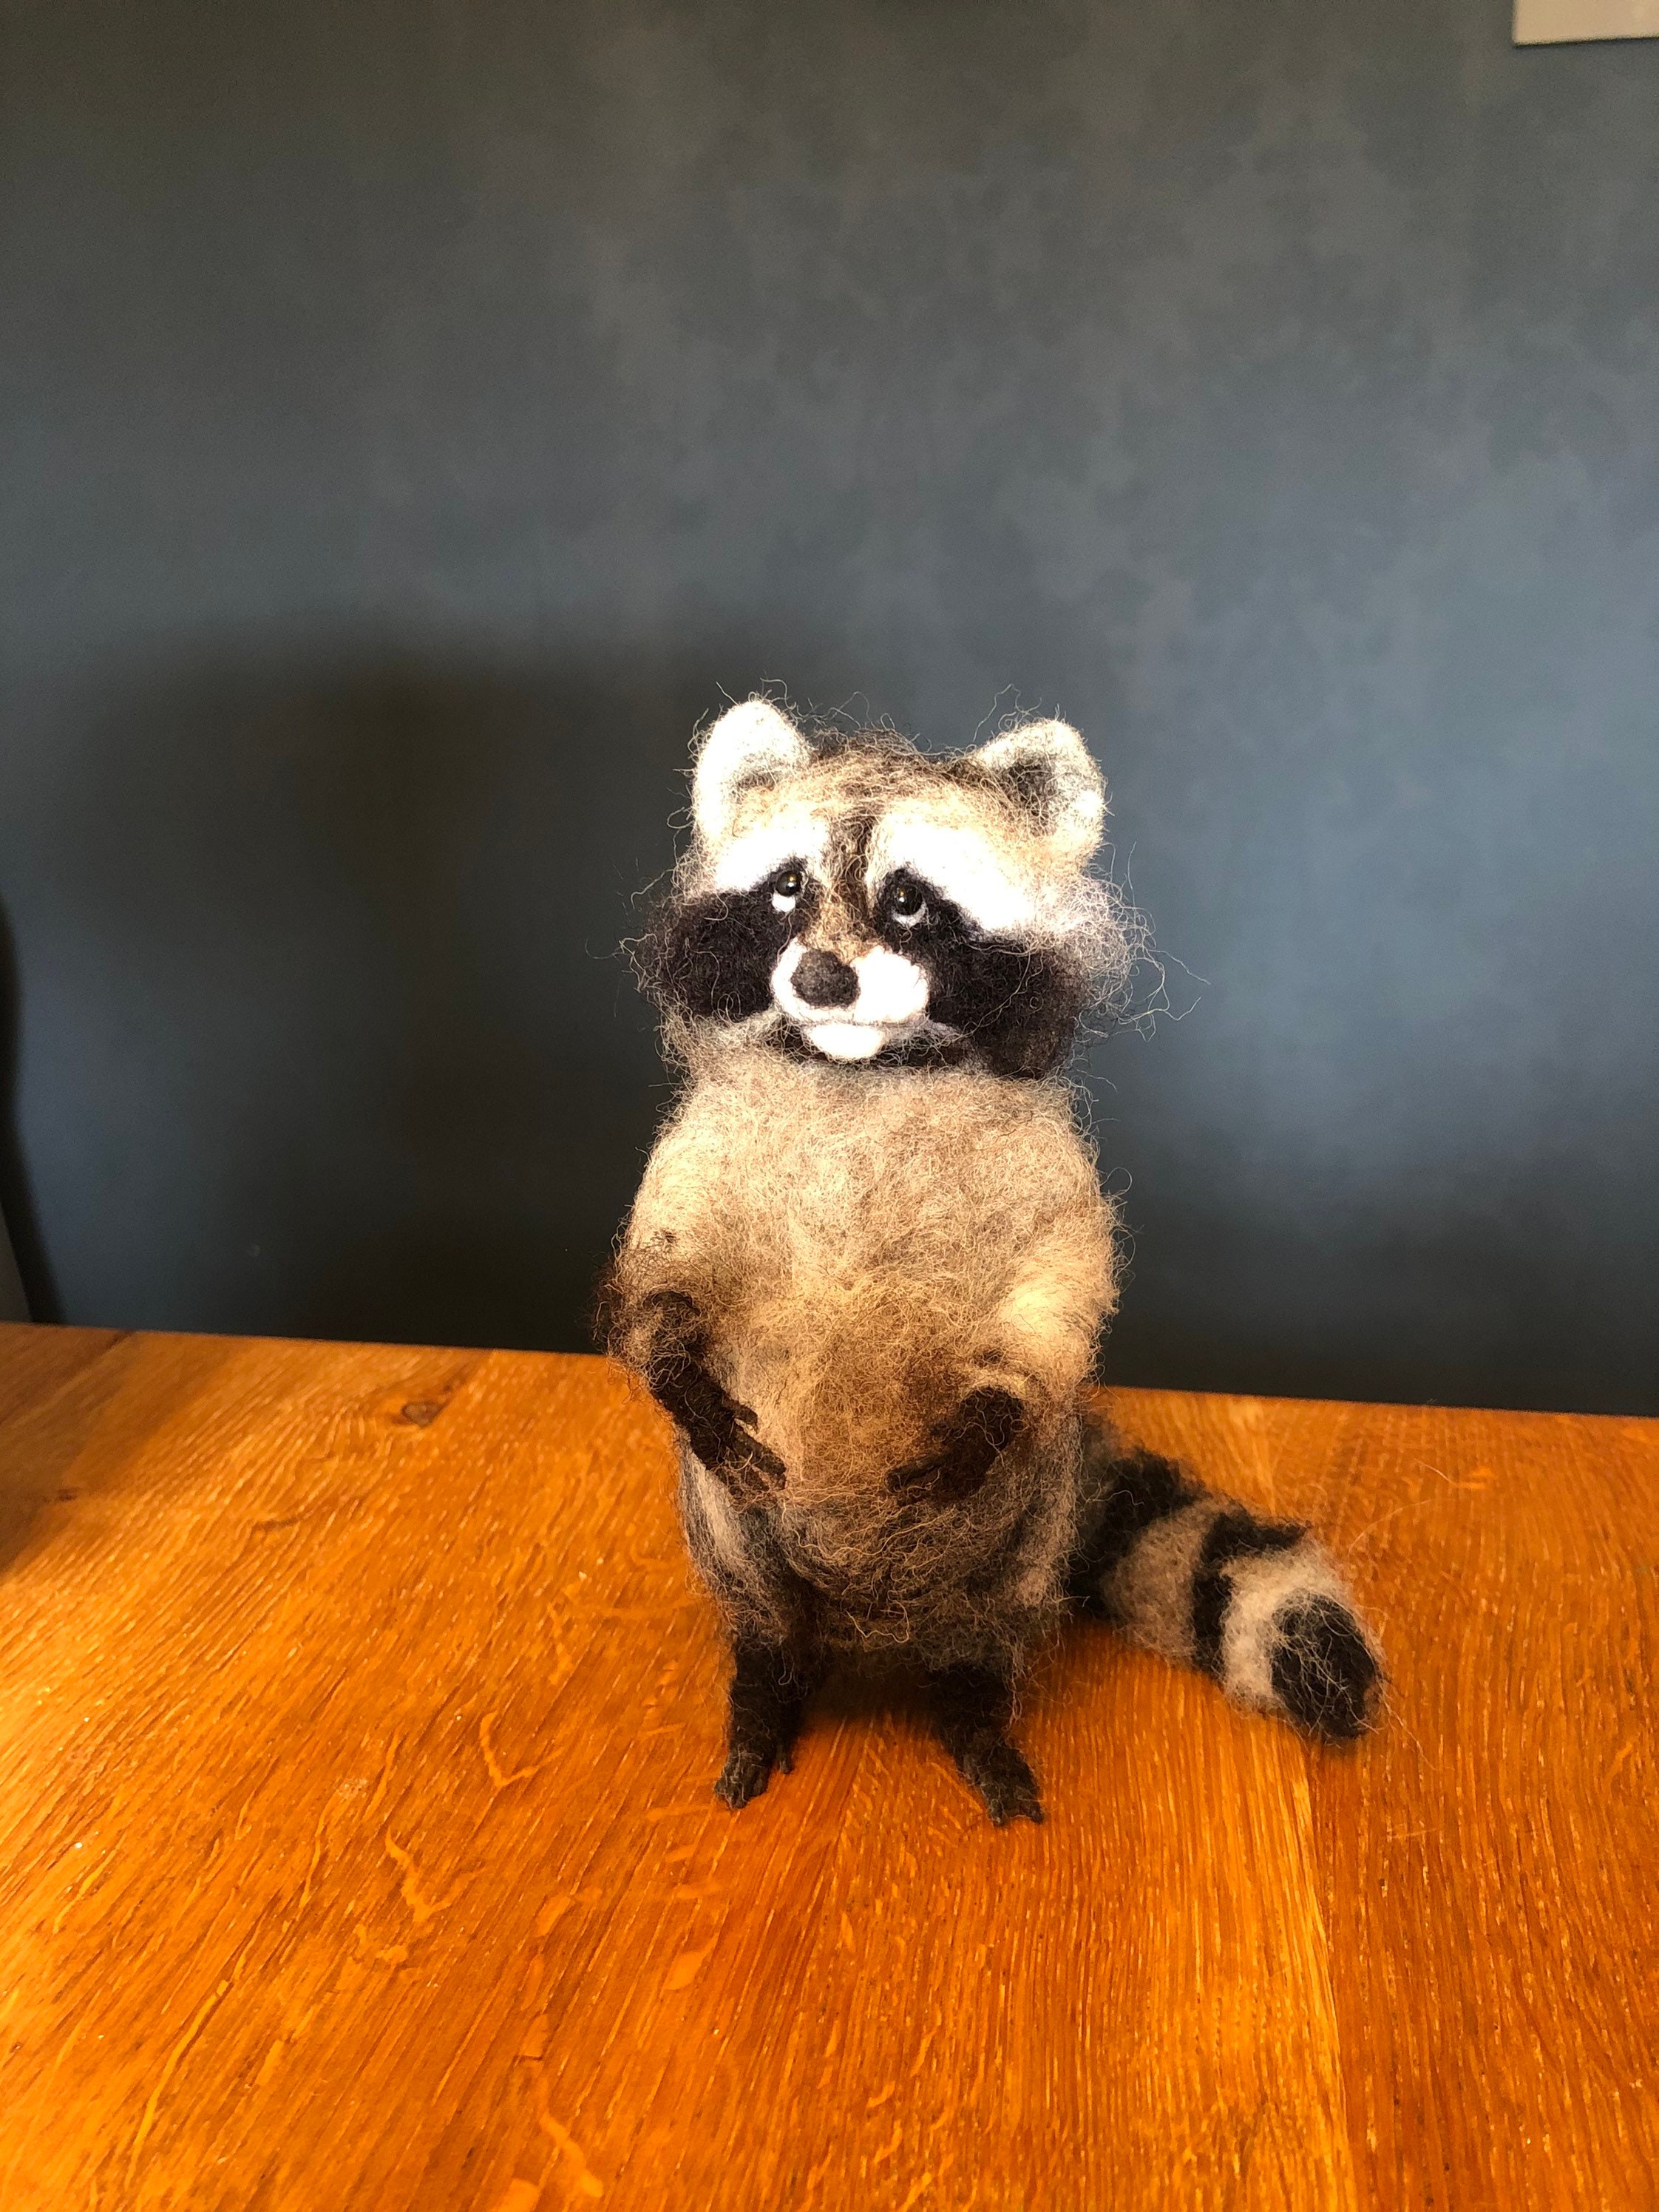
Needle felting is a popular craft technique that involves using a special barbed needle to interlock fibers and create three-dimensional shapes. One of the many adorable creatures that can be made through needle felting is the raccoon. These needle felted raccoons are not only cute and lifelike but also make great decorations or gifts. In this article, we will explore the process of creating needle felted raccoons and the materials required.
Materials Needed for Needle Felting Raccoons

To create your own needle felted raccoons, you will need a few materials:
- Wool roving in various colors (gray, black, white, and brown)
- A felting needle
- A foam pad or felting mat
- Small scissors
- Wire for armature (optional)
These materials can be easily found in craft stores or online. Once you have gathered all the necessary supplies, you can start the needle felting process.
Creating the Body and Head

To begin, take a small amount of gray wool roving and roll it into a compact oval shape. This will serve as the raccoon's body. Use your felting needle to poke the wool repeatedly, causing the fibers to interlock and firm up.
Next, take a smaller amount of gray wool roving and shape it into a smaller oval for the head. Attach the head to the body by poking the felting needle through both pieces, joining them together. Continue to poke the wool with the needle until the head feels securely attached to the body.
Adding the Facial Features

Now it's time to add the facial features to give your raccoon its adorable expression. Take a small amount of black wool roving and shape it into two small ovals for the eyes. Attach them to the head by gently poking the felting needle through the wool and into the head.
For the nose, take a small amount of black wool roving and roll it into a tiny ball. Attach it to the face using the felting needle, making sure it is centered between the eyes. To create the mouth, use a thin strand of black wool roving and attach it below the nose.
Forming the Ears and Stripes

The raccoon's distinctive ears can be made by shaping two small triangles out of gray wool roving. Attach them to the head using the felting needle, positioning them on either side of the face.
To create the raccoon's stripes, take small amounts of black wool roving and roll them into thin strips. Attach these strips to the body using the felting needle. Position the stripes diagonally across the body, giving your raccoon its characteristic pattern.
Shaping the Legs and Tail

For the raccoon's legs, take four thin strands of black wool roving and shape them into small cylinders. Attach them to the bottom of the body using the felting needle. Make sure the legs are evenly spaced and firmly attached.
The tail can be formed by taking a slightly thicker strand of black wool roving and shaping it into a long, thin cylinder. Attach it to the back of the body using the felting needle. You can also add a slight curve to the tail for a more dynamic pose.
Adding the Finishing Touches

Once you have completed the basic structure of your needle felted raccoon, you can add some finishing touches. Use small amounts of white and brown wool roving to add highlights and shading to the fur. Simply attach these fibers to the desired areas and blend them in using the felting needle.
You can also use small scissors to trim any excess wool and shape the fur as desired. Pay attention to the details such as the raccoon's paws, claws, and facial features to make your creation look more realistic.
Conclusion
Creating needle felted raccoons is an enjoyable craft that allows you to bring these adorable creatures to life. With some patience and creativity, you can make your own unique raccoon sculptures. Whether you choose to display them as decorations or give them as gifts, these needle felted raccoons are sure to be cherished by raccoon enthusiasts of all ages.