Introduction
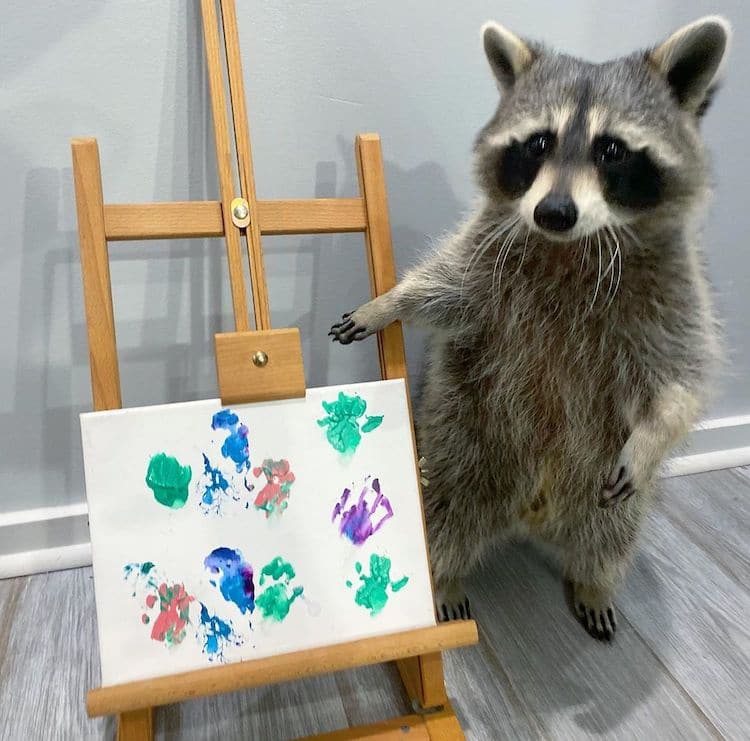
Are you a fan of raccoons and looking to explore your artistic side? Look no further! This raccoon art tutorial will guide you through the process of creating your very own raccoon masterpiece. Whether you are an experienced artist or just starting out, these step-by-step instructions will help you unleash your creativity. So, grab your art supplies and let's get started!
Gathering Your Materials

Before we dive into the tutorial, let's make sure you have all the necessary materials. Here's what you'll need:
- Canvas or paper
- Paintbrushes
- Acrylic or watercolor paints
- Pencil
- Eraser
- Palette
- Cup of water
Sketching the Raccoon

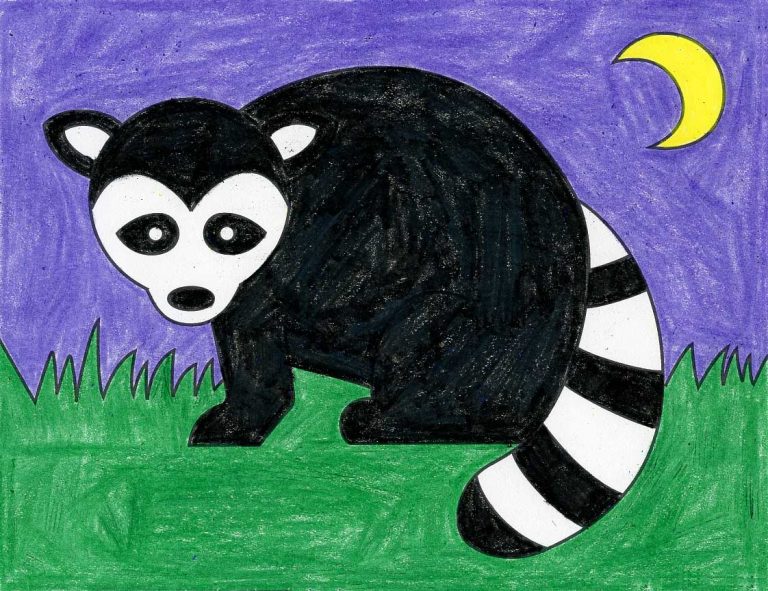
Start by lightly sketching the outline of a raccoon on your canvas or paper using a pencil. You can use reference images or even trace a raccoon shape if you prefer. Don't worry about perfection at this stage; the sketch is just a guideline for the painting process.
Choosing the Color Palette

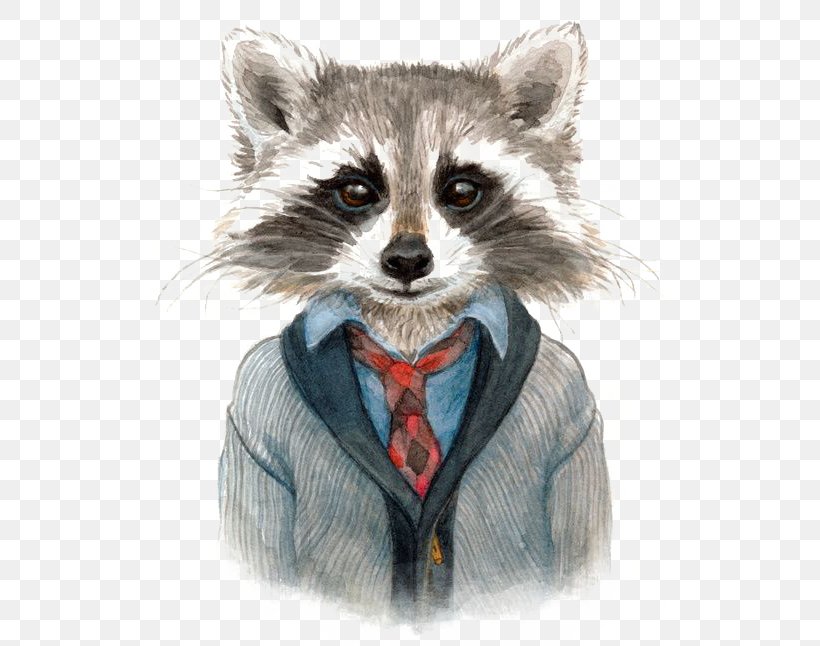
Next, select the colors you want to use for your raccoon artwork. Raccoons are known for their grayish-black fur, but feel free to get creative with different shades. Consider using browns, grays, and even hints of blue or purple to add depth and character to your painting.
Painting the Background

Before focusing on the raccoon itself, let's start with the background. Use a large brush to apply a base color to the entire canvas. This could be a soft blue for a night scene or a vibrant green for a forest setting. Blend the colors smoothly to create a harmonious backdrop for your raccoon.
Adding Fur Texture
Now it's time to bring the raccoon to life! Start by using a smaller brush to paint the raccoon's fur. Begin with the lighter shades and gradually work your way towards the darker tones. Apply short, gentle strokes to mimic the texture of fur. Don't worry about getting every detail perfect; the texture will add depth and realism to your artwork.
Defining Facial Features
Focus on the raccoon's face and use a fine brush to define its features. Paint the eyes with a dark color, adding highlights to make them sparkle. Outline the nose and mouth, paying attention to the shape and proportions. Remember, details are what bring your raccoon to life!
Adding Shadows and Highlights
Enhance the three-dimensional effect of your artwork by adding shadows and highlights. Use darker shades to create shadows in areas where the light doesn't directly hit, such as under the raccoon's body or around the eyes. Apply lighter shades to areas that catch the light, like the tip of the nose or the top of the head.
Refining the Background

Take a step back and assess the overall composition of your artwork. If needed, make any necessary adjustments to the background to ensure it complements the raccoon. Add additional details like trees, leaves, or even a moonlit sky to create a more immersive scene.
Final Touches

Once you are satisfied with your raccoon art, let it dry completely. Then, step back and admire your creation! Feel free to add any final touches or details that you feel are missing. Remember, art is subjective, and this is your unique interpretation of a raccoon.
Conclusion
Creating raccoon art allows you to combine your love for these fascinating animals with your artistic skills. By following this tutorial, you've learned how to sketch a raccoon, choose colors, create texture, and bring your artwork to life with shadows and highlights. Now, go ahead and showcase your masterpiece to the world!
