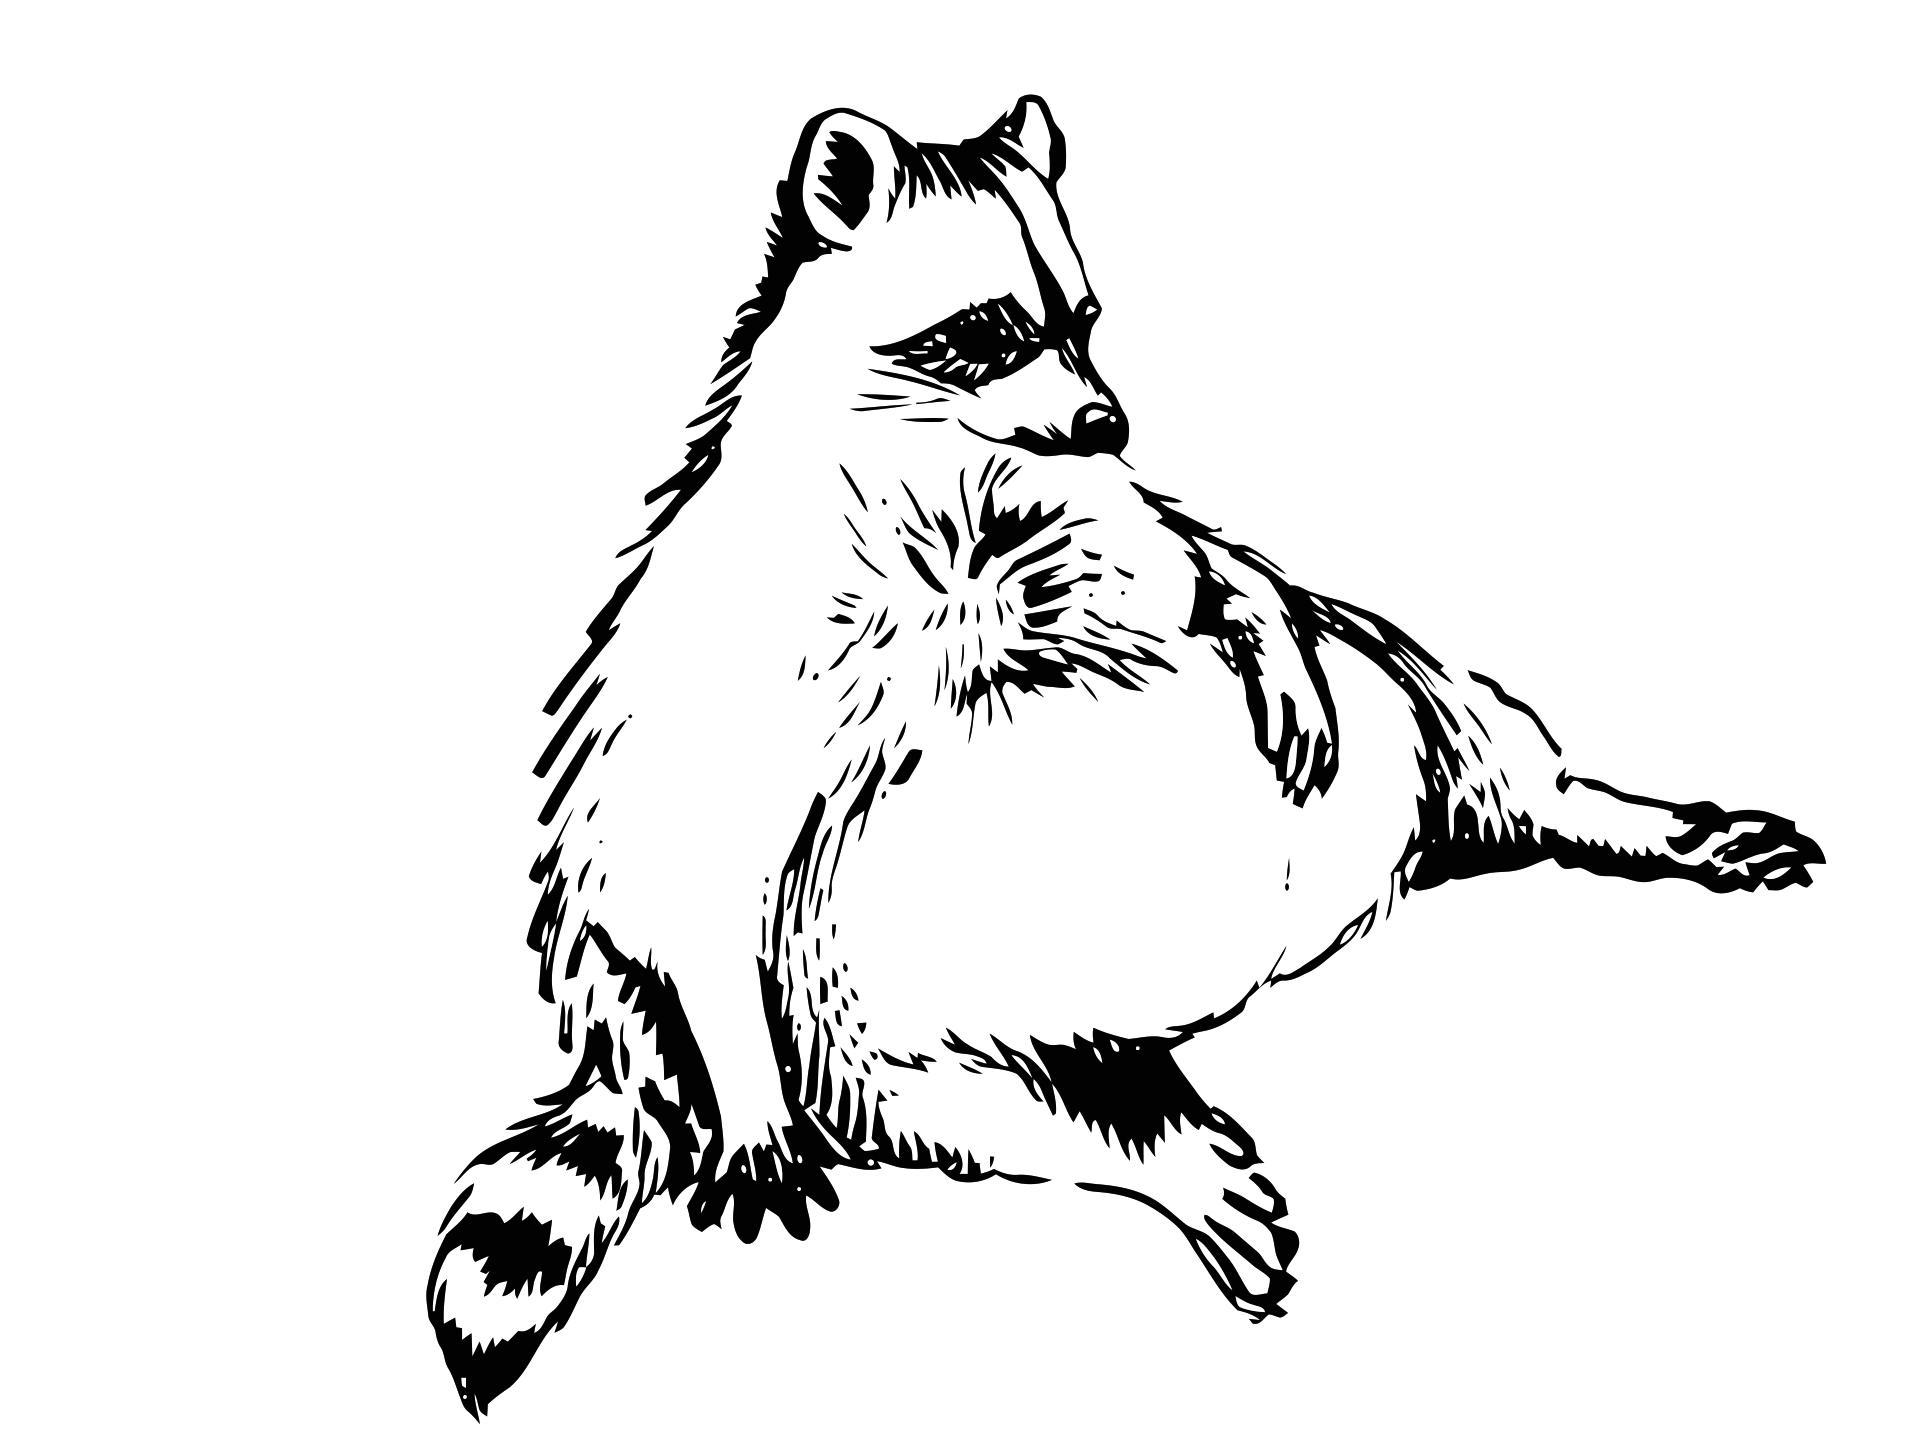
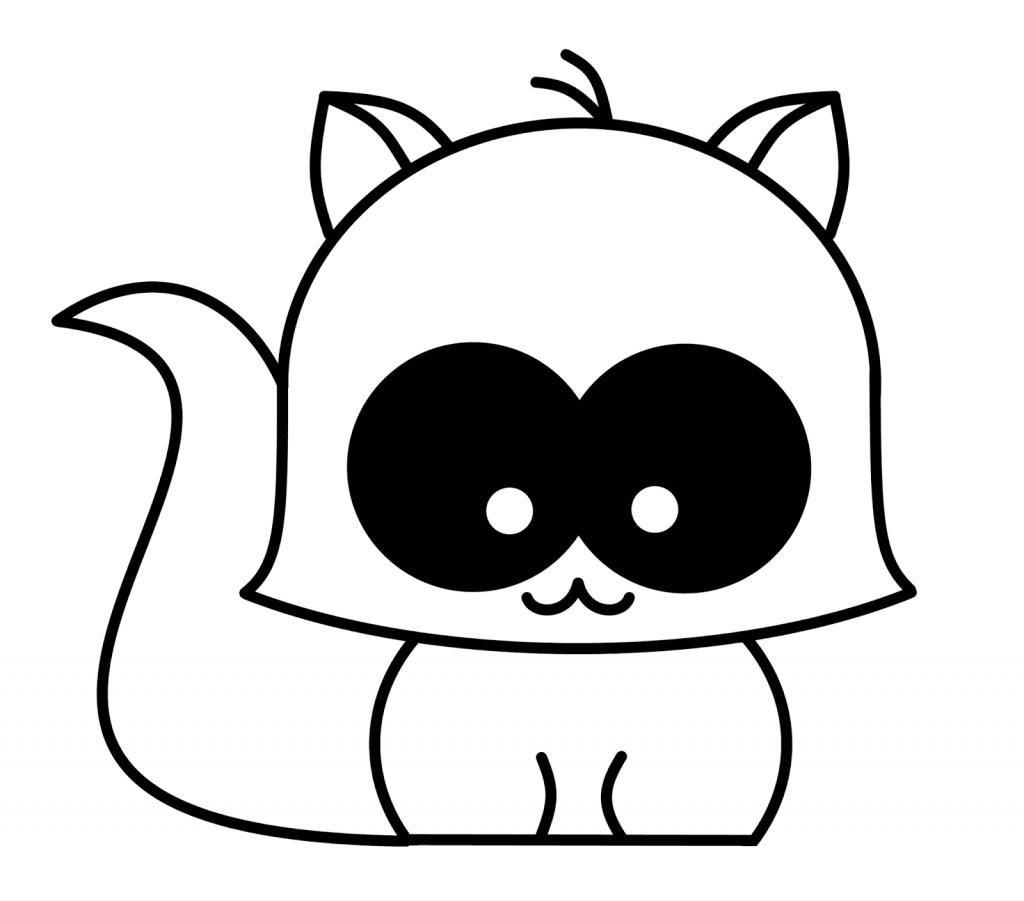
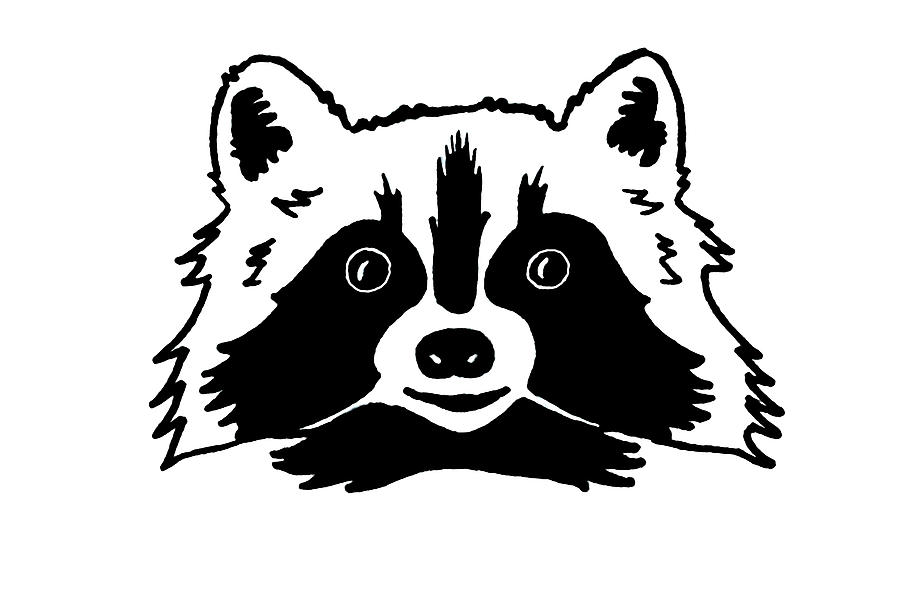
Are you looking to learn how to draw a raccoon? Look no further! In this article, we will guide you through the process of creating a simple and funny raccoon drawing. Whether you are an experienced artist or just starting out, this step-by-step tutorial will help you unleash your creativity and have fun. So, let's get started!
Materials Needed
To begin your raccoon drawing, gather the following materials:
- Pencil
- Eraser
- Drawing paper
- Colored pencils or markers (optional)
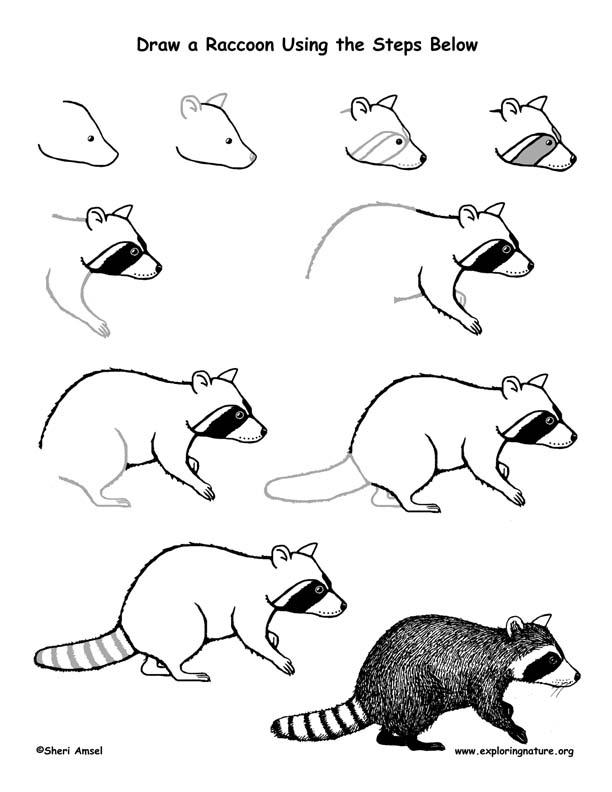
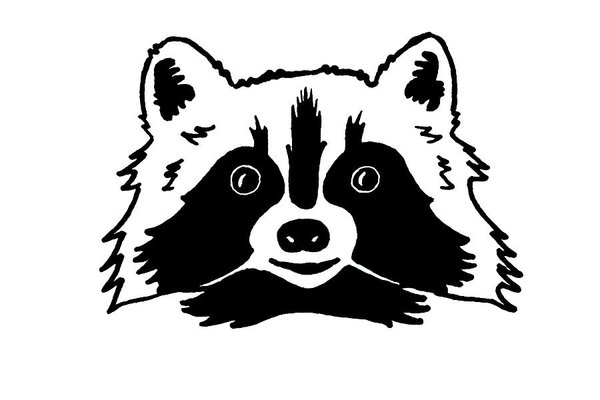
Step 1: Outline the Head
Start by drawing a large oval shape for the raccoon's head. Leave some space at the bottom for the body.

Using light pencil strokes, add two curved lines on top of the head to indicate the raccoon's rounded ears.

Step 2: Draw the Eyes and Nose
Next, draw two large circles for the raccoon's eyes. Position them slightly below the center of the head.
Inside each eye, draw a smaller circle to represent the pupils. Leave a small white highlight in each pupil to add a spark of life to the drawing.

Beneath the eyes, draw a small triangle shape for the raccoon's nose.

Step 3: Add the Facial Details
Now, it's time to add some personality to our raccoon drawing. Draw a curved line above each eye to represent the eyebrows.
Below the nose, draw a small curved line for the raccoon's mouth. Add a tiny curved line on each side to represent the smile.

For the finishing touch on the face, draw two small circles on each side of the head to create the raccoon's cheeks.
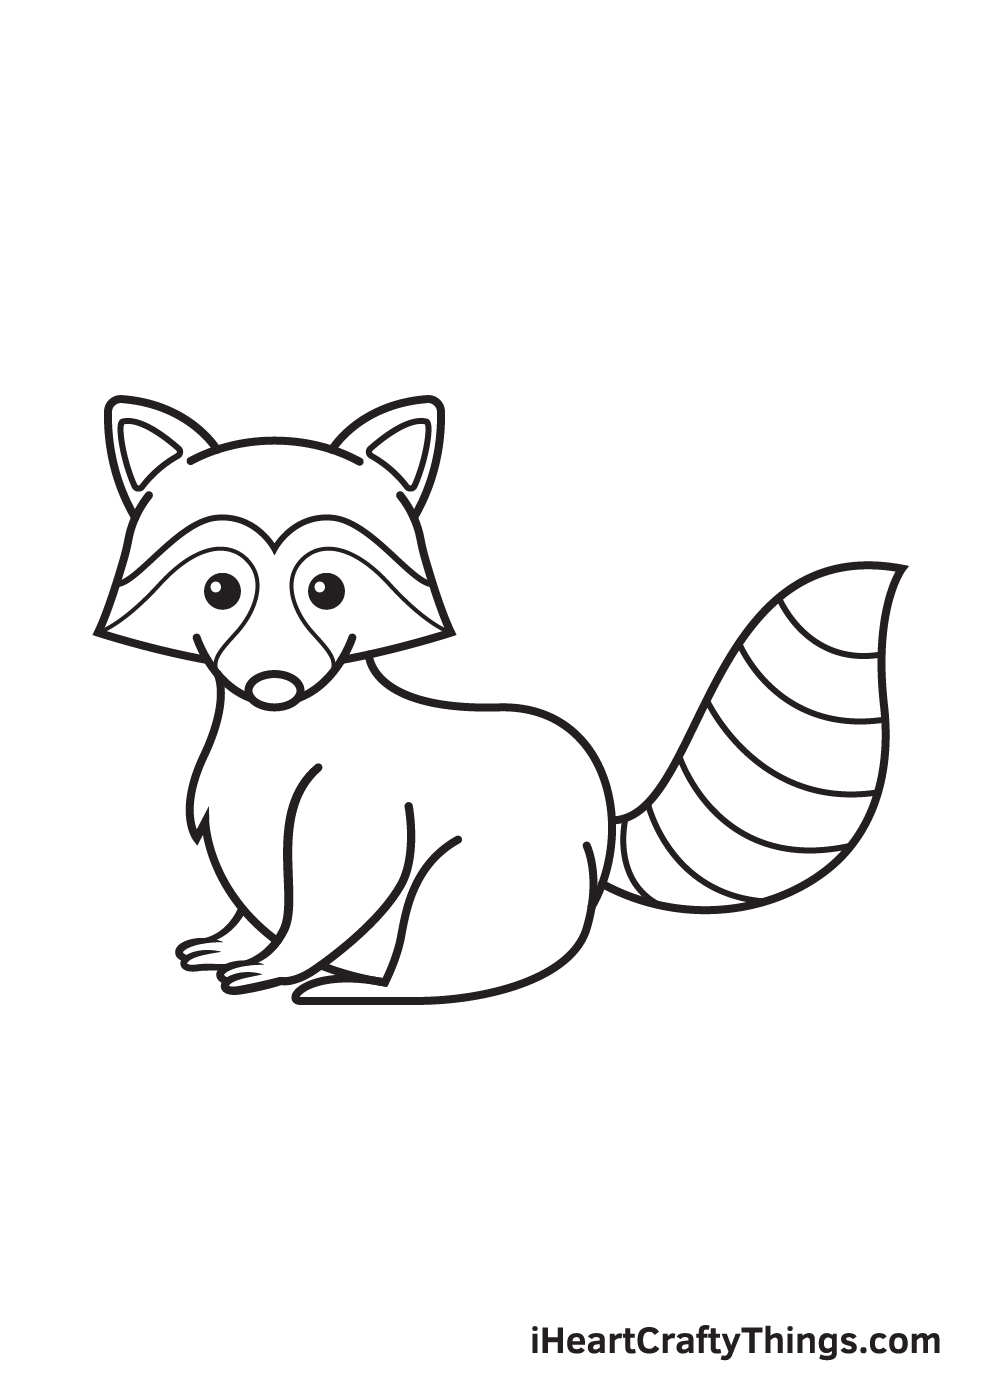
Step 4: Outline the Body
Extend two curved lines from the bottom of the head to create the raccoon's body. The body should be slightly larger than the head.
At the end of the body, draw a fluffy tail by adding a series of curved lines.

Step 5: Draw the Limbs
Let's move on to the raccoon's limbs. Draw two short, curved lines on each side of the body to represent the front legs.

Extend the front legs with larger, curved lines to create the raccoon's paws. Add some small curved lines to indicate the toes.

Repeat the process for the hind legs, making them slightly longer than the front legs.
Complete the hind legs with curved lines for the paws and add the toes.

Step 6: Add Details and Fur
Now that we have the basic structure of our raccoon drawing, let's add some details and fur texture. Start by drawing small curved lines on the face to represent the fur.
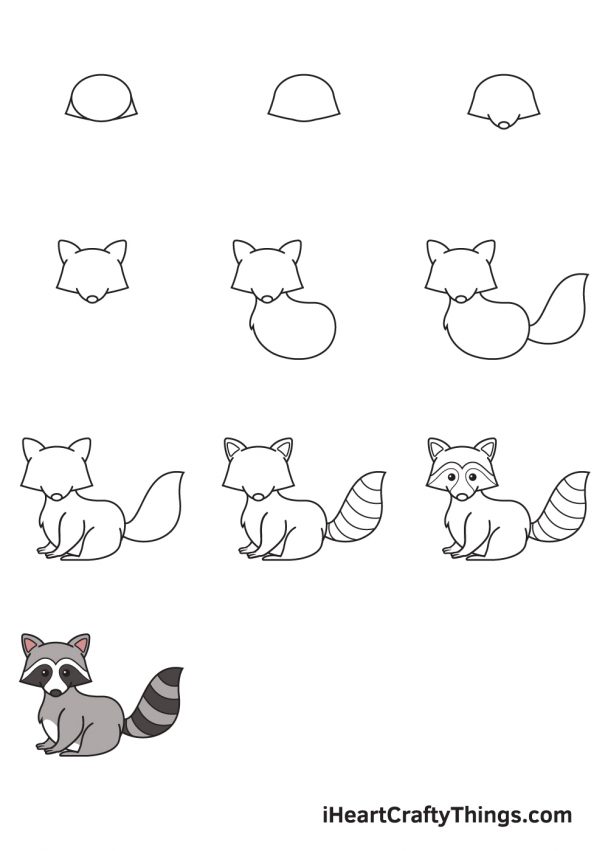
Continue adding fur texture along the body, tail, and limbs. Use short, curved lines to give the raccoon a fuzzy appearance.
Feel free to add more details to your raccoon drawing, such as shading, highlights, or even color using colored pencils or markers.
Conclusion
Congratulations! You have successfully created a simple and funny raccoon drawing. Remember, practice makes perfect, so don't be afraid to try different poses or expressions for your raccoon. Let your imagination run wild and have fun with your artwork. Happy drawing!
