
Introduction
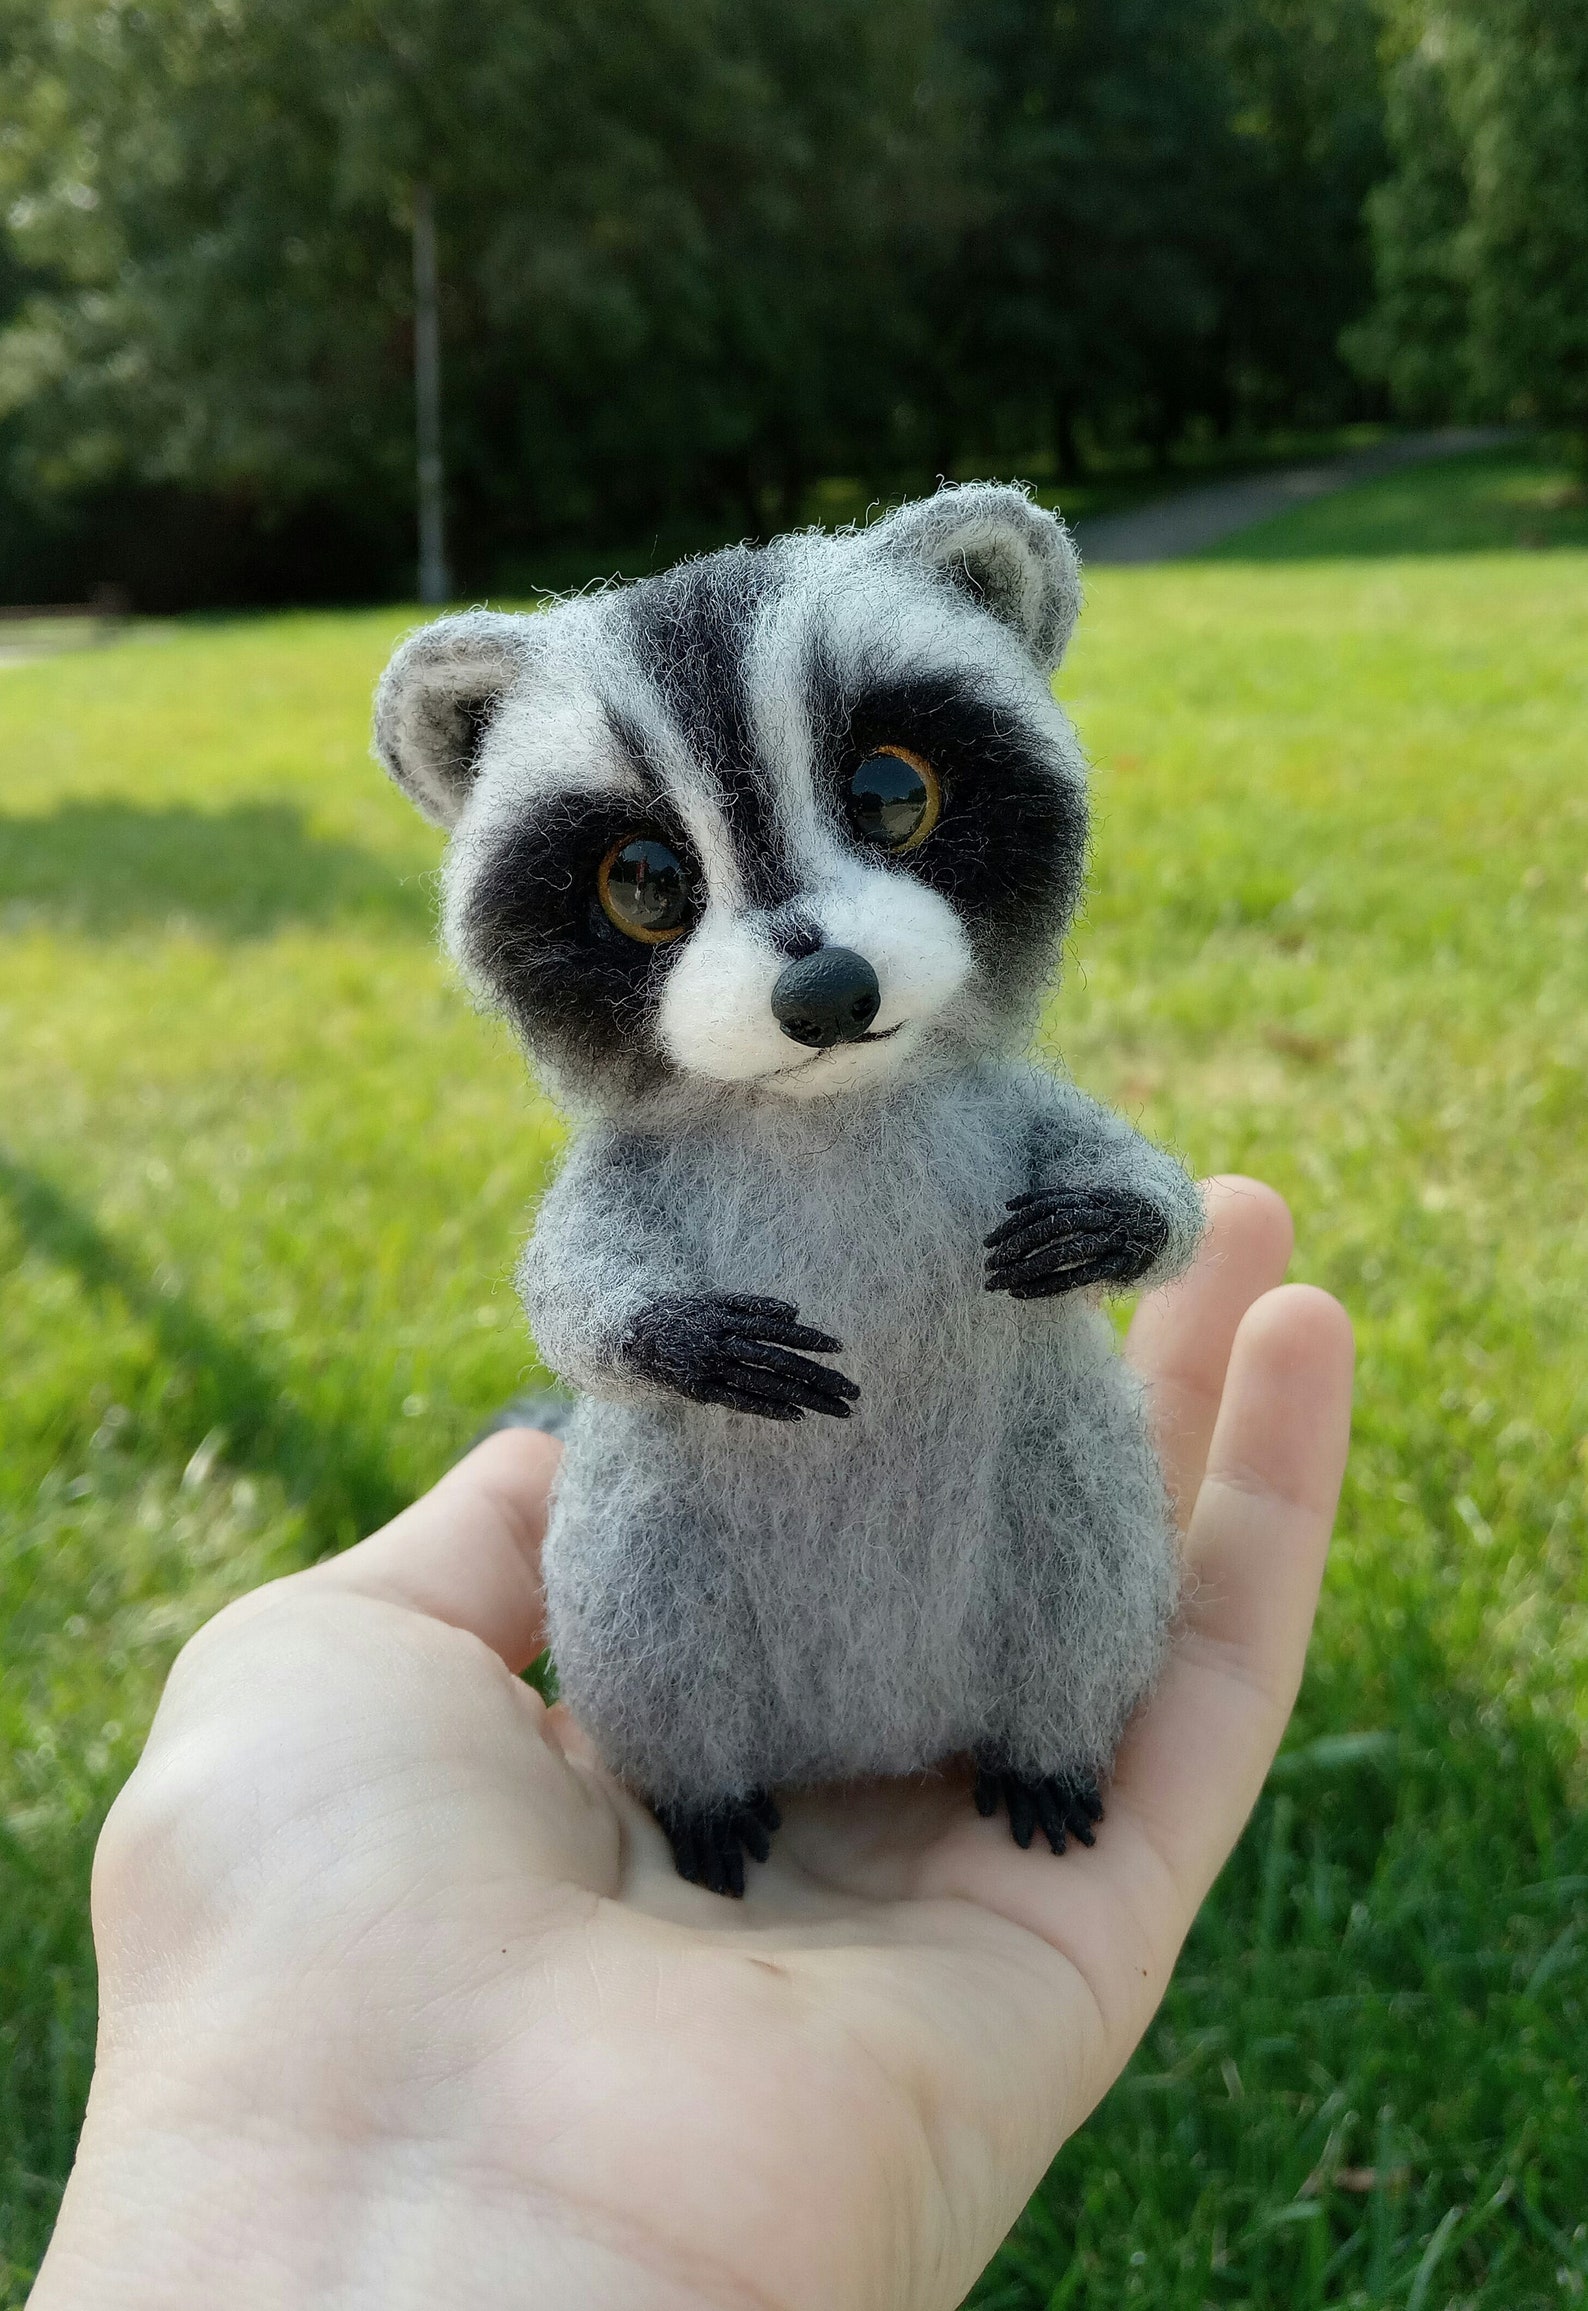
Needle felting is an enjoyable and versatile craft that allows you to create adorable and lifelike animals using just a few simple tools. One popular choice among crafters is the raccoon needle felt, which offers a chance to showcase the unique charm of these mischievous creatures. In this article, we will explore the art of raccoon needle felting, providing step-by-step instructions and tips to help you create your own raccoon masterpiece.
Getting Started with Raccoon Needle Felt
Before you embark on your raccoon needle felting adventure, it's essential to gather the necessary materials. You will need:
- A foam pad or felting mat
- Barbed felting needles in various sizes
- Wool roving in gray, black, and white
- A pair of sharp scissors
Once you have these supplies, you're ready to dive into the world of raccoon needle felting.
Creating the Body
Start by shaping a small gray wool roving into an oval shape. This will serve as the body of your raccoon. Use your felting needle to secure the fibers together, repeatedly poking the wool until it holds its shape and becomes firm.
Next, take a smaller amount of gray roving and shape it into a cylinder. This will become the head of your raccoon. Attach it to the body by poking it with your felting needle until it joins securely.
Adding Details to the Face
Now it's time to give your raccoon its adorable face. Take a small amount of white wool roving and shape it into two teardrop-like pieces. These will form the raccoon's eyes. Attach them to the head using your felting needle.
For the nose, use a small piece of black wool roving and shape it into a triangular form. Secure it onto the face, just below the eyes, by felting it in place with your needle.
Shaping the Ears and Tail
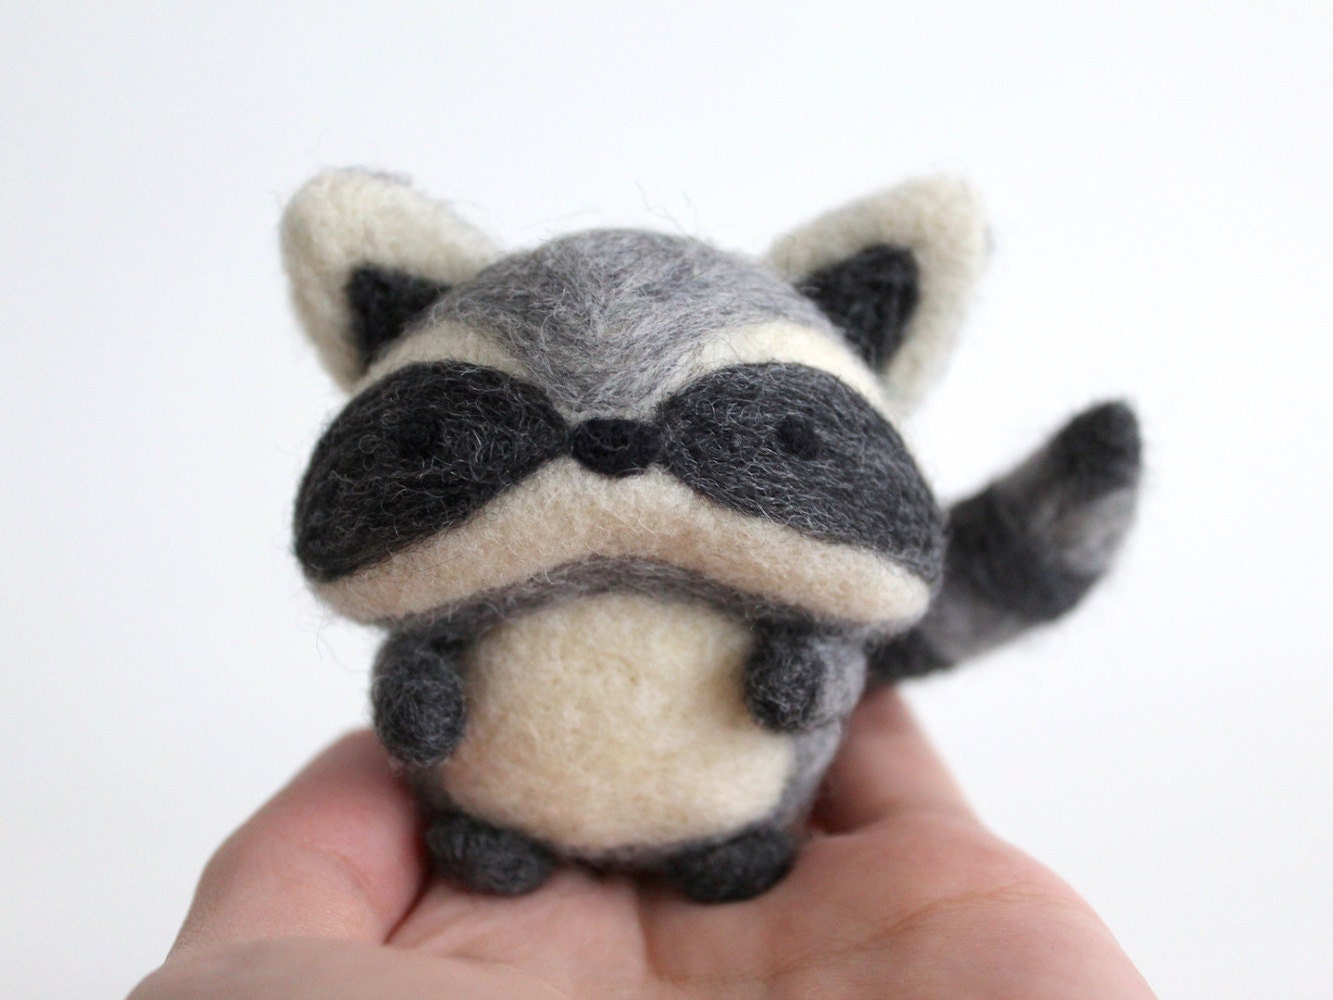
The ears and tail are defining features of a raccoon. Take small amounts of gray wool roving and shape them into two triangular ear pieces. Attach them to the top of the raccoon's head, ensuring they stand upright by firmly poking with your felting needle.
For the tail, roll a thin strip of black wool roving between your palms until it forms a cylindrical shape. Attach it to the back of the raccoon, slightly curving it to add a realistic touch. Secure it firmly with your felting needle.
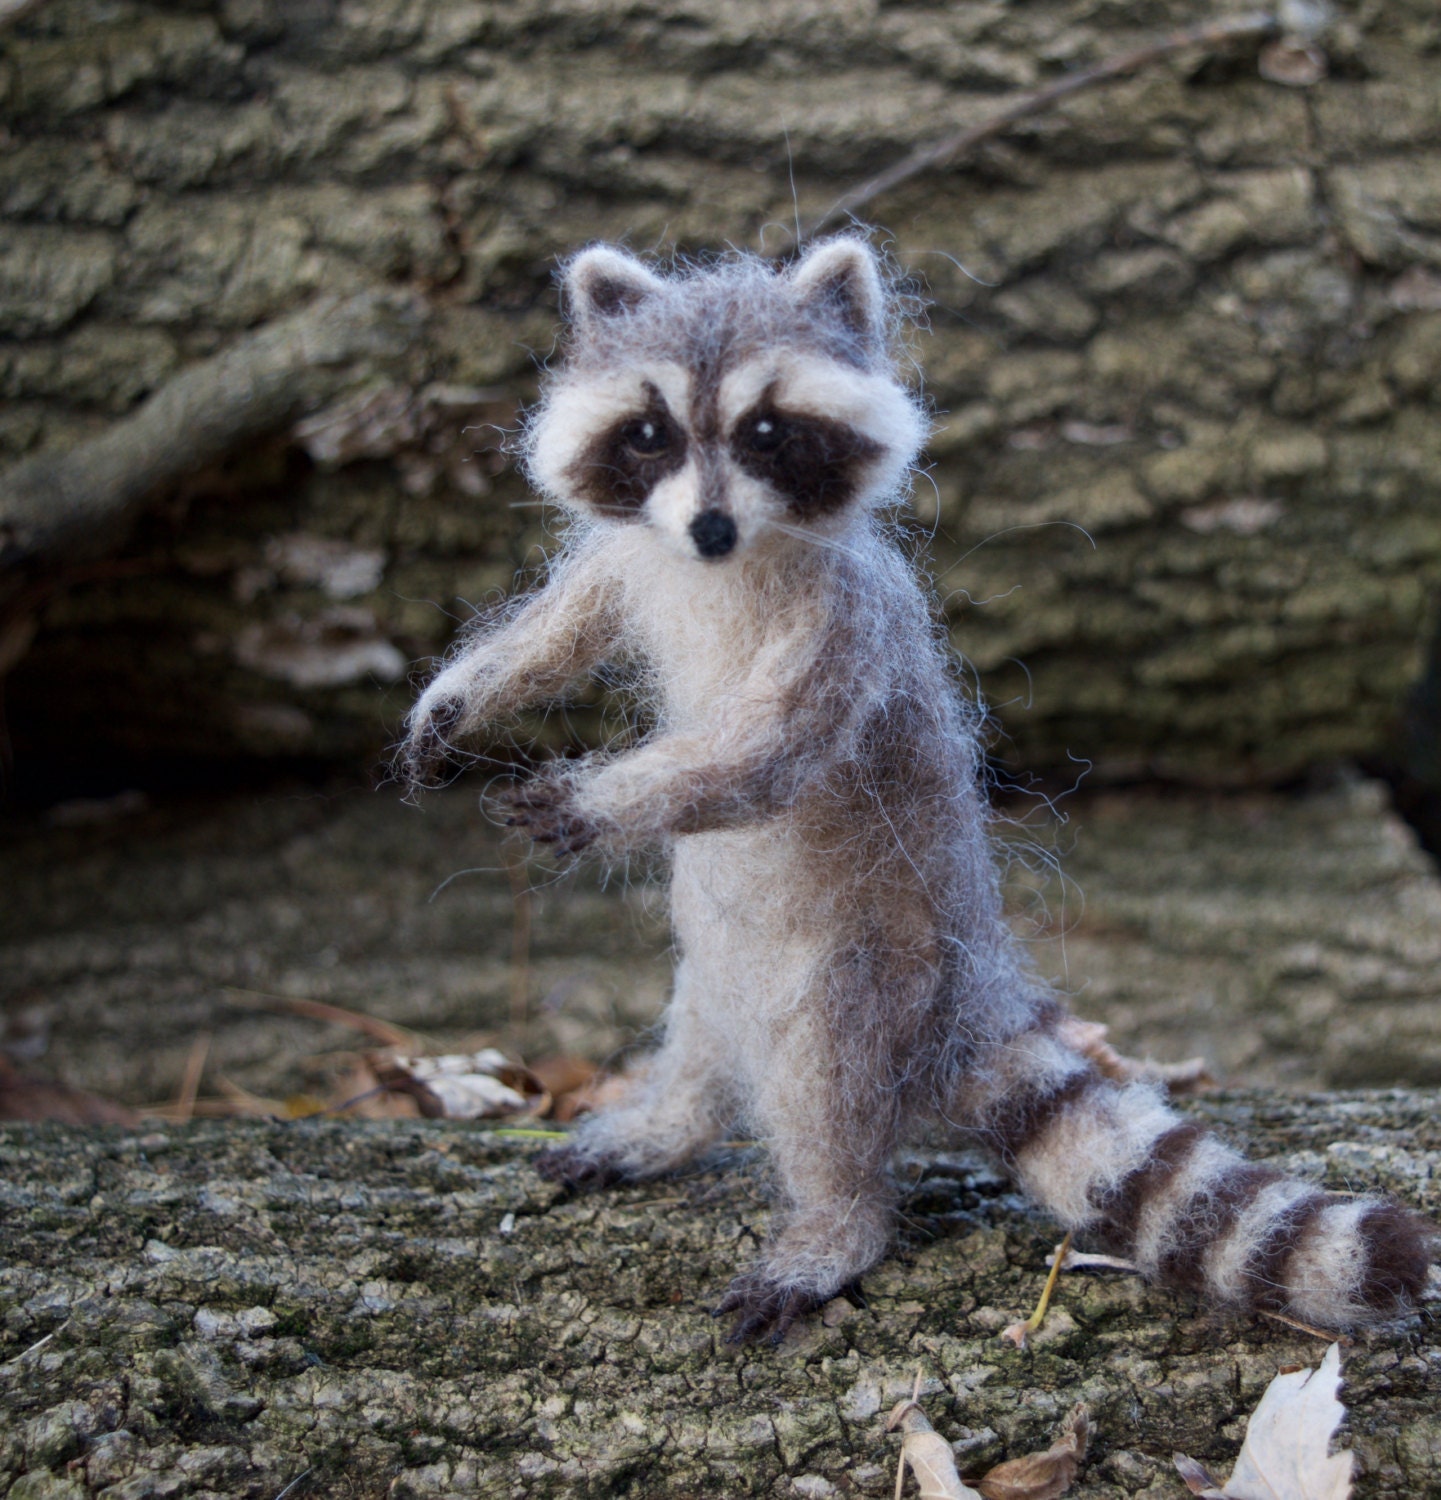
Adding Fur Texture
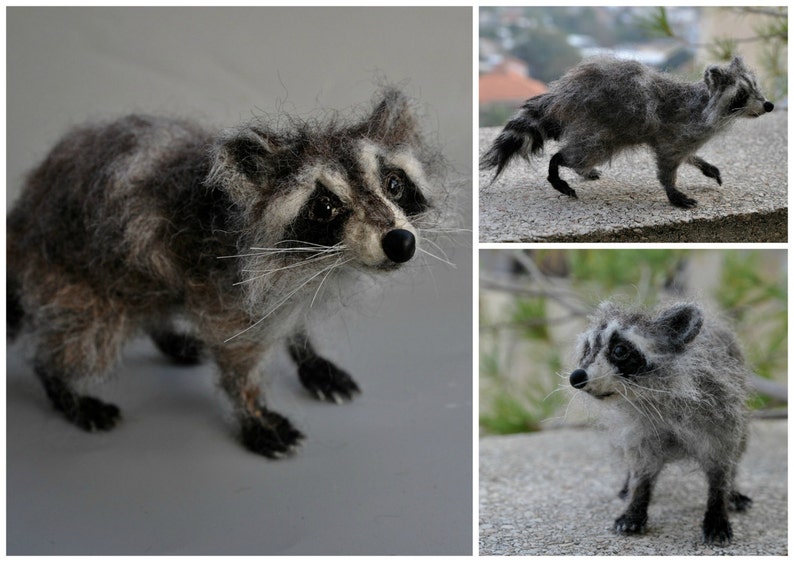
To give your raccoon a fluffy and realistic appearance, you need to add texture to its fur. Take small amounts of gray wool roving and gently pull them apart into thin strands. Place these strands onto the raccoon's body and use your felting needle to secure them in place, making sure to create a natural-looking fur pattern.
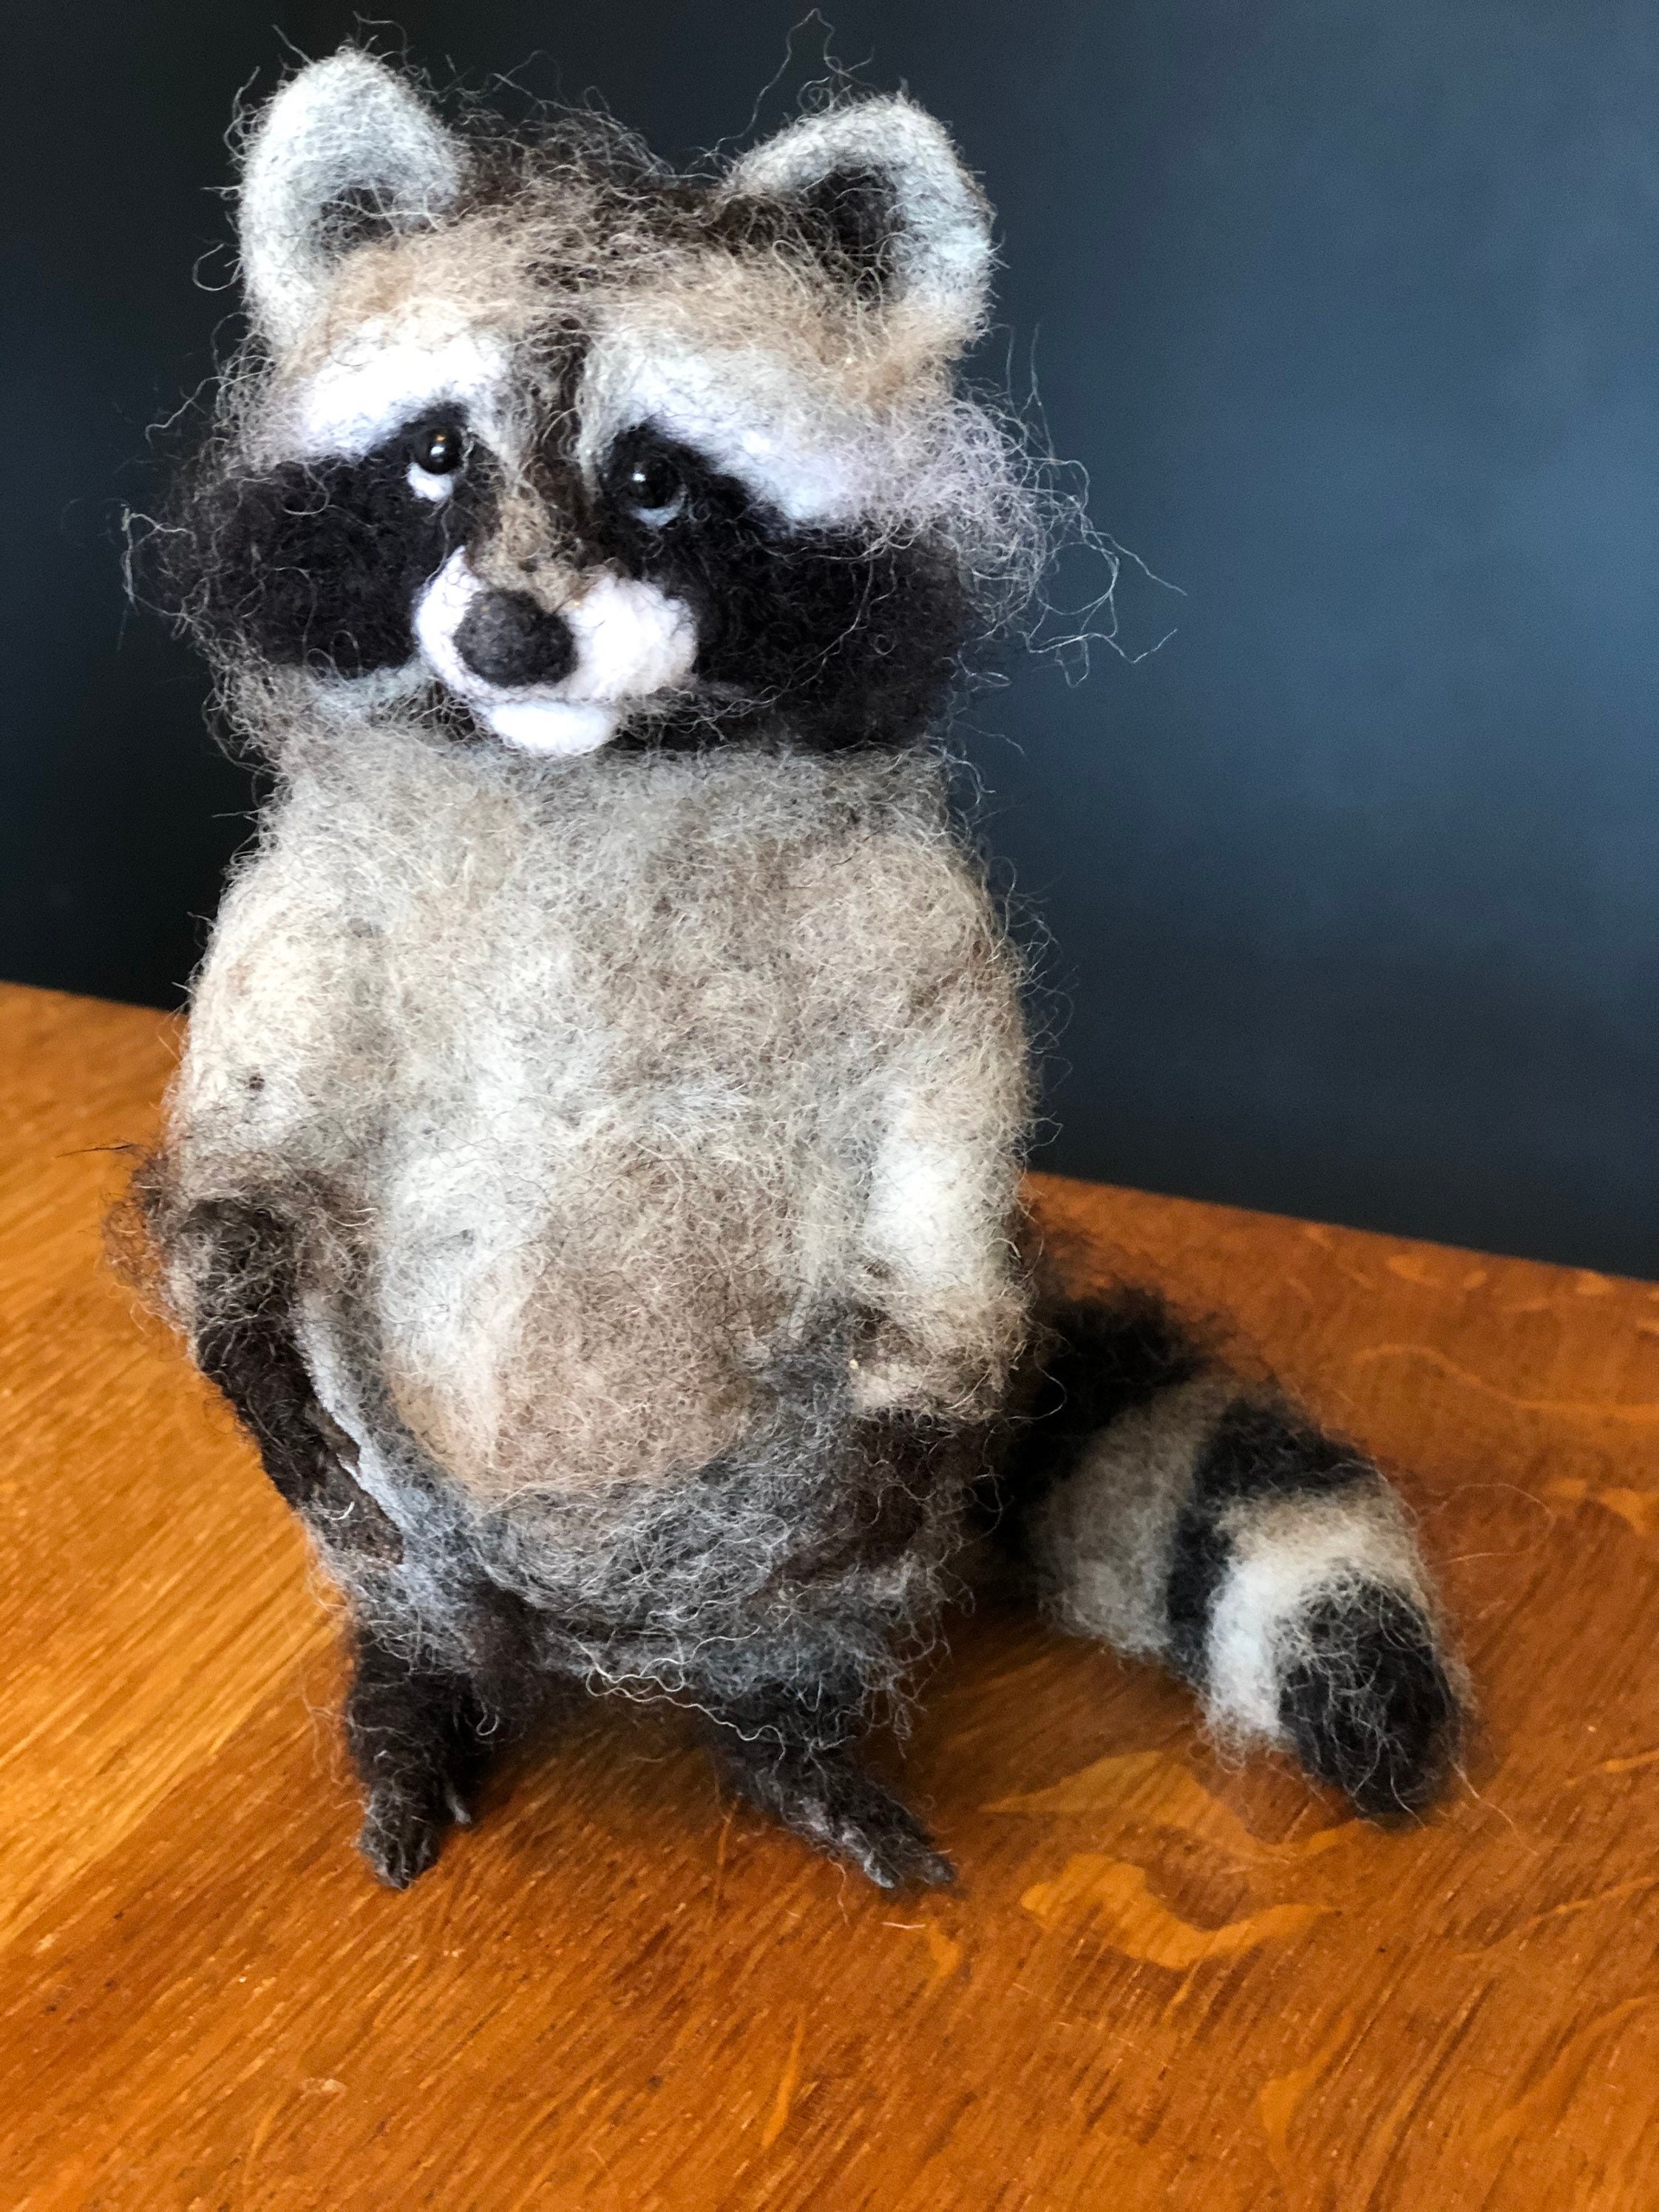
Repeat this process with black wool roving, focusing on the raccoon's characteristic black mask around its eyes. Blend the colors together by felting lightly between the gray and black areas.
Finishing Touches and Fine Details
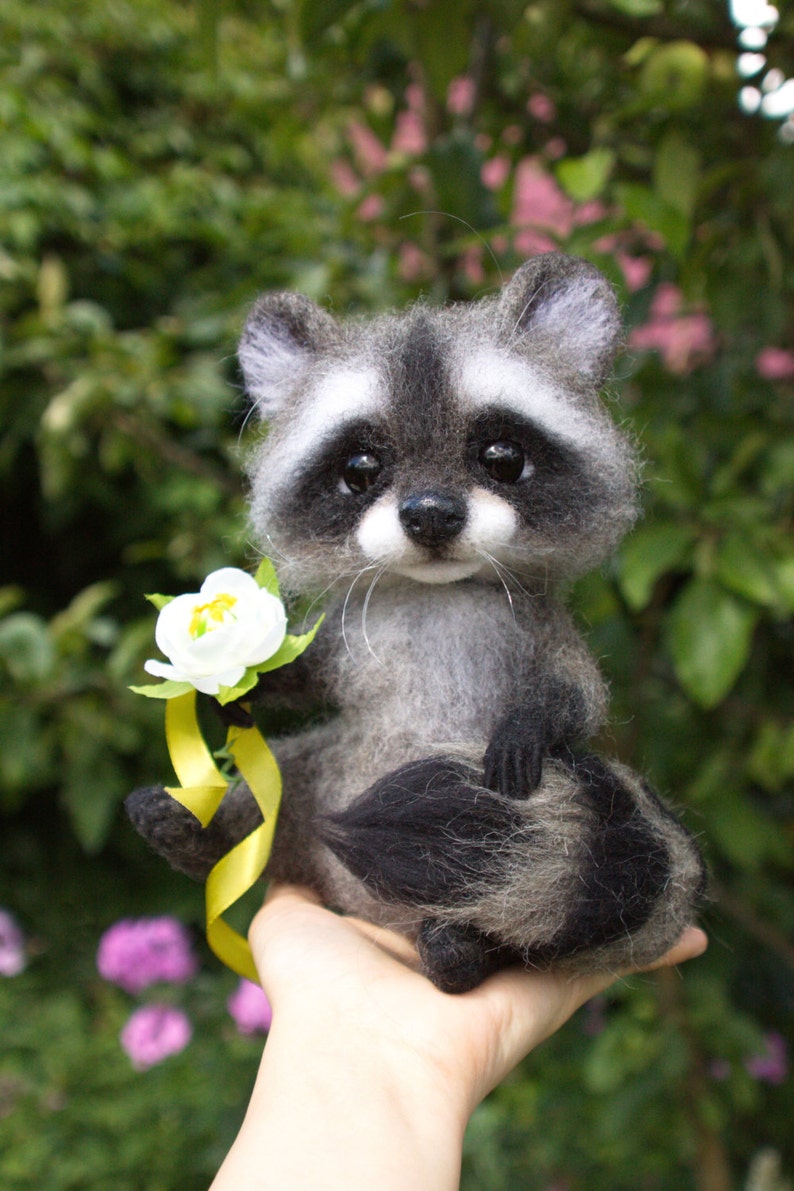
Now that your raccoon has taken shape, it's time to add the finishing touches. Use small amounts of white wool roving to create highlights on the eyes, adding a touch of liveliness to your creation. You can also add tiny whiskers using thin black threads or strands of black wool roving.
Don't forget to shape the raccoon's paws using small amounts of gray wool roving. Attach them securely to the body with your felting needle, ensuring they are slightly raised for a realistic effect.
Conclusion
Creating a raccoon needle felt is a delightful and rewarding craft that allows you to express your creativity while capturing the essence of these fascinating animals. With a bit of practice and patience, you can bring a raccoon to life with wool and a few simple tools. Start your raccoon needle felting journey today and enjoy the process of crafting a unique and charming creature.
