Introduction
Are you looking for a fun and entertaining activity to do with your kids? How about teaching them how to draw a silly raccoon? Raccoons are adorable creatures known for their mischievous nature and distinctive facial markings. In this article, we will guide you through the process of creating a silly raccoon drawing step by step. Get ready to unleash your creativity and have a blast!
Gathering Your Materials
Before we dive into the drawing process, let's make sure you have all the necessary materials. You will need:
- A blank sheet of paper
- A pencil
- An eraser
- Colored pencils or markers (optional)
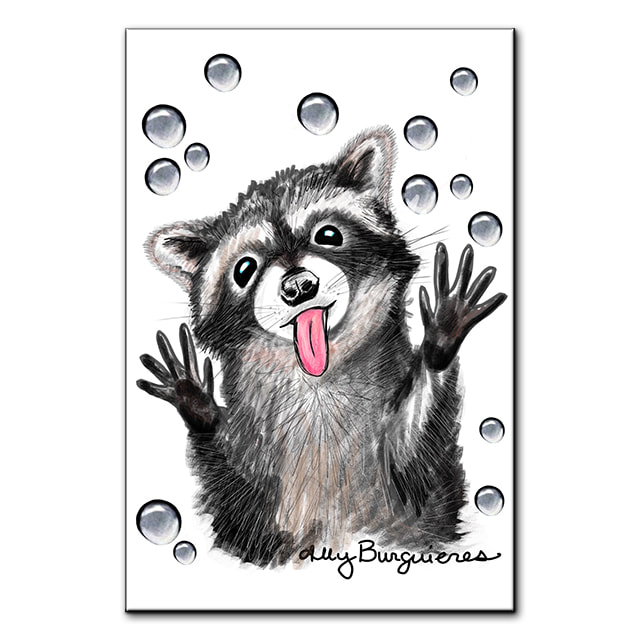
Step 1: Drawing the Head
Start by drawing a circle in the center of your paper. This circle will serve as the raccoon's head. Don't worry about making it perfect; remember, we're aiming for a silly look! Next, draw two slightly curved lines extending from the bottom of the circle to create the raccoon's neck.

Step 2: Adding the Facial Features
Now, let's bring our raccoon to life by adding its facial features. Draw two large circles within the head circle to represent the eyes. Leave some space between the eyes for the nose. Fill in the eyes with smaller circles for the pupils and add curved lines above each eye to depict eyebrows. For the nose, draw a small oval shape in the center of the face.

Step 3: Creating the Ears and Mask
Raccoons are known for their distinctive facial mask and pointy ears. To draw the ears, make two triangular shapes on either side of the head, just above the eyes. Connect the ears to the head by adding curved lines. Next, extend the mask below the eyes by drawing two curved lines that meet at a point in the center of the face.
Step 4: Drawing the Body
Move on to drawing the raccoon's body. Start by extending two curved lines downward from the neck to create the upper body. Then, draw two more curved lines that gradually slope inward to form the lower body. Join the lines at the bottom to complete the raccoon's body shape.

Step 5: Adding the Legs and Tail
Our silly raccoon needs some legs and a fluffy tail! Draw four small ovals at the bottom of the body to represent the paws. Extend two curved lines from each paw to form the legs. For the tail, draw a long, curved line that starts from the back of the raccoon and loops towards the front. Add a few curved lines to indicate the tail's texture.
Step 6: Detailing the Face
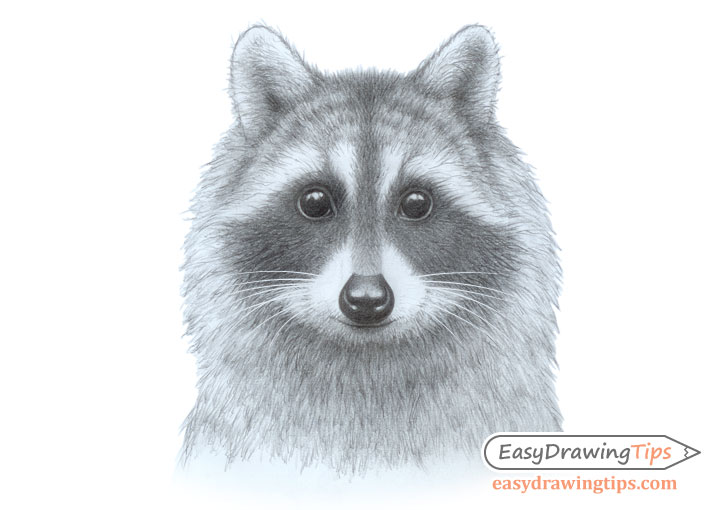
To make our raccoon even sillier, let's add some details to its face. Draw a small curved line above the nose to represent the snout. Then, add a smiling mouth by drawing a gentle curve under the snout. Don't forget to include some teeth! Finally, draw two small circles within the eyes to create highlights.
Step 7: Adding Fur and Texture
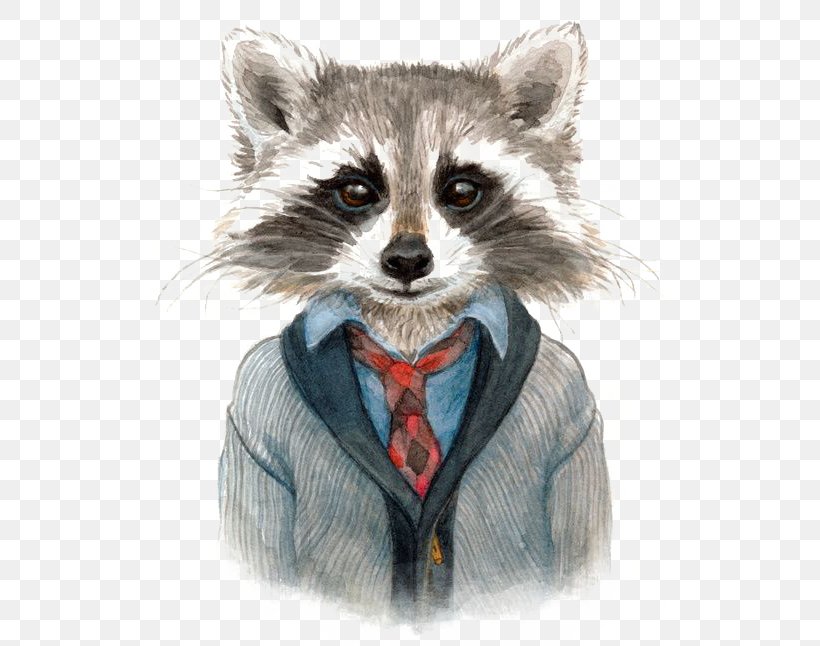
To give our raccoon drawing some depth and texture, add some fur details. Start by drawing small, curved lines around the raccoon's face, ears, and body. These lines represent the fur. You can also add a few lines within the tail to enhance its fluffiness. Don't be afraid to get creative and experiment with different patterns!
Step 8: Coloring Your Drawing (Optional)
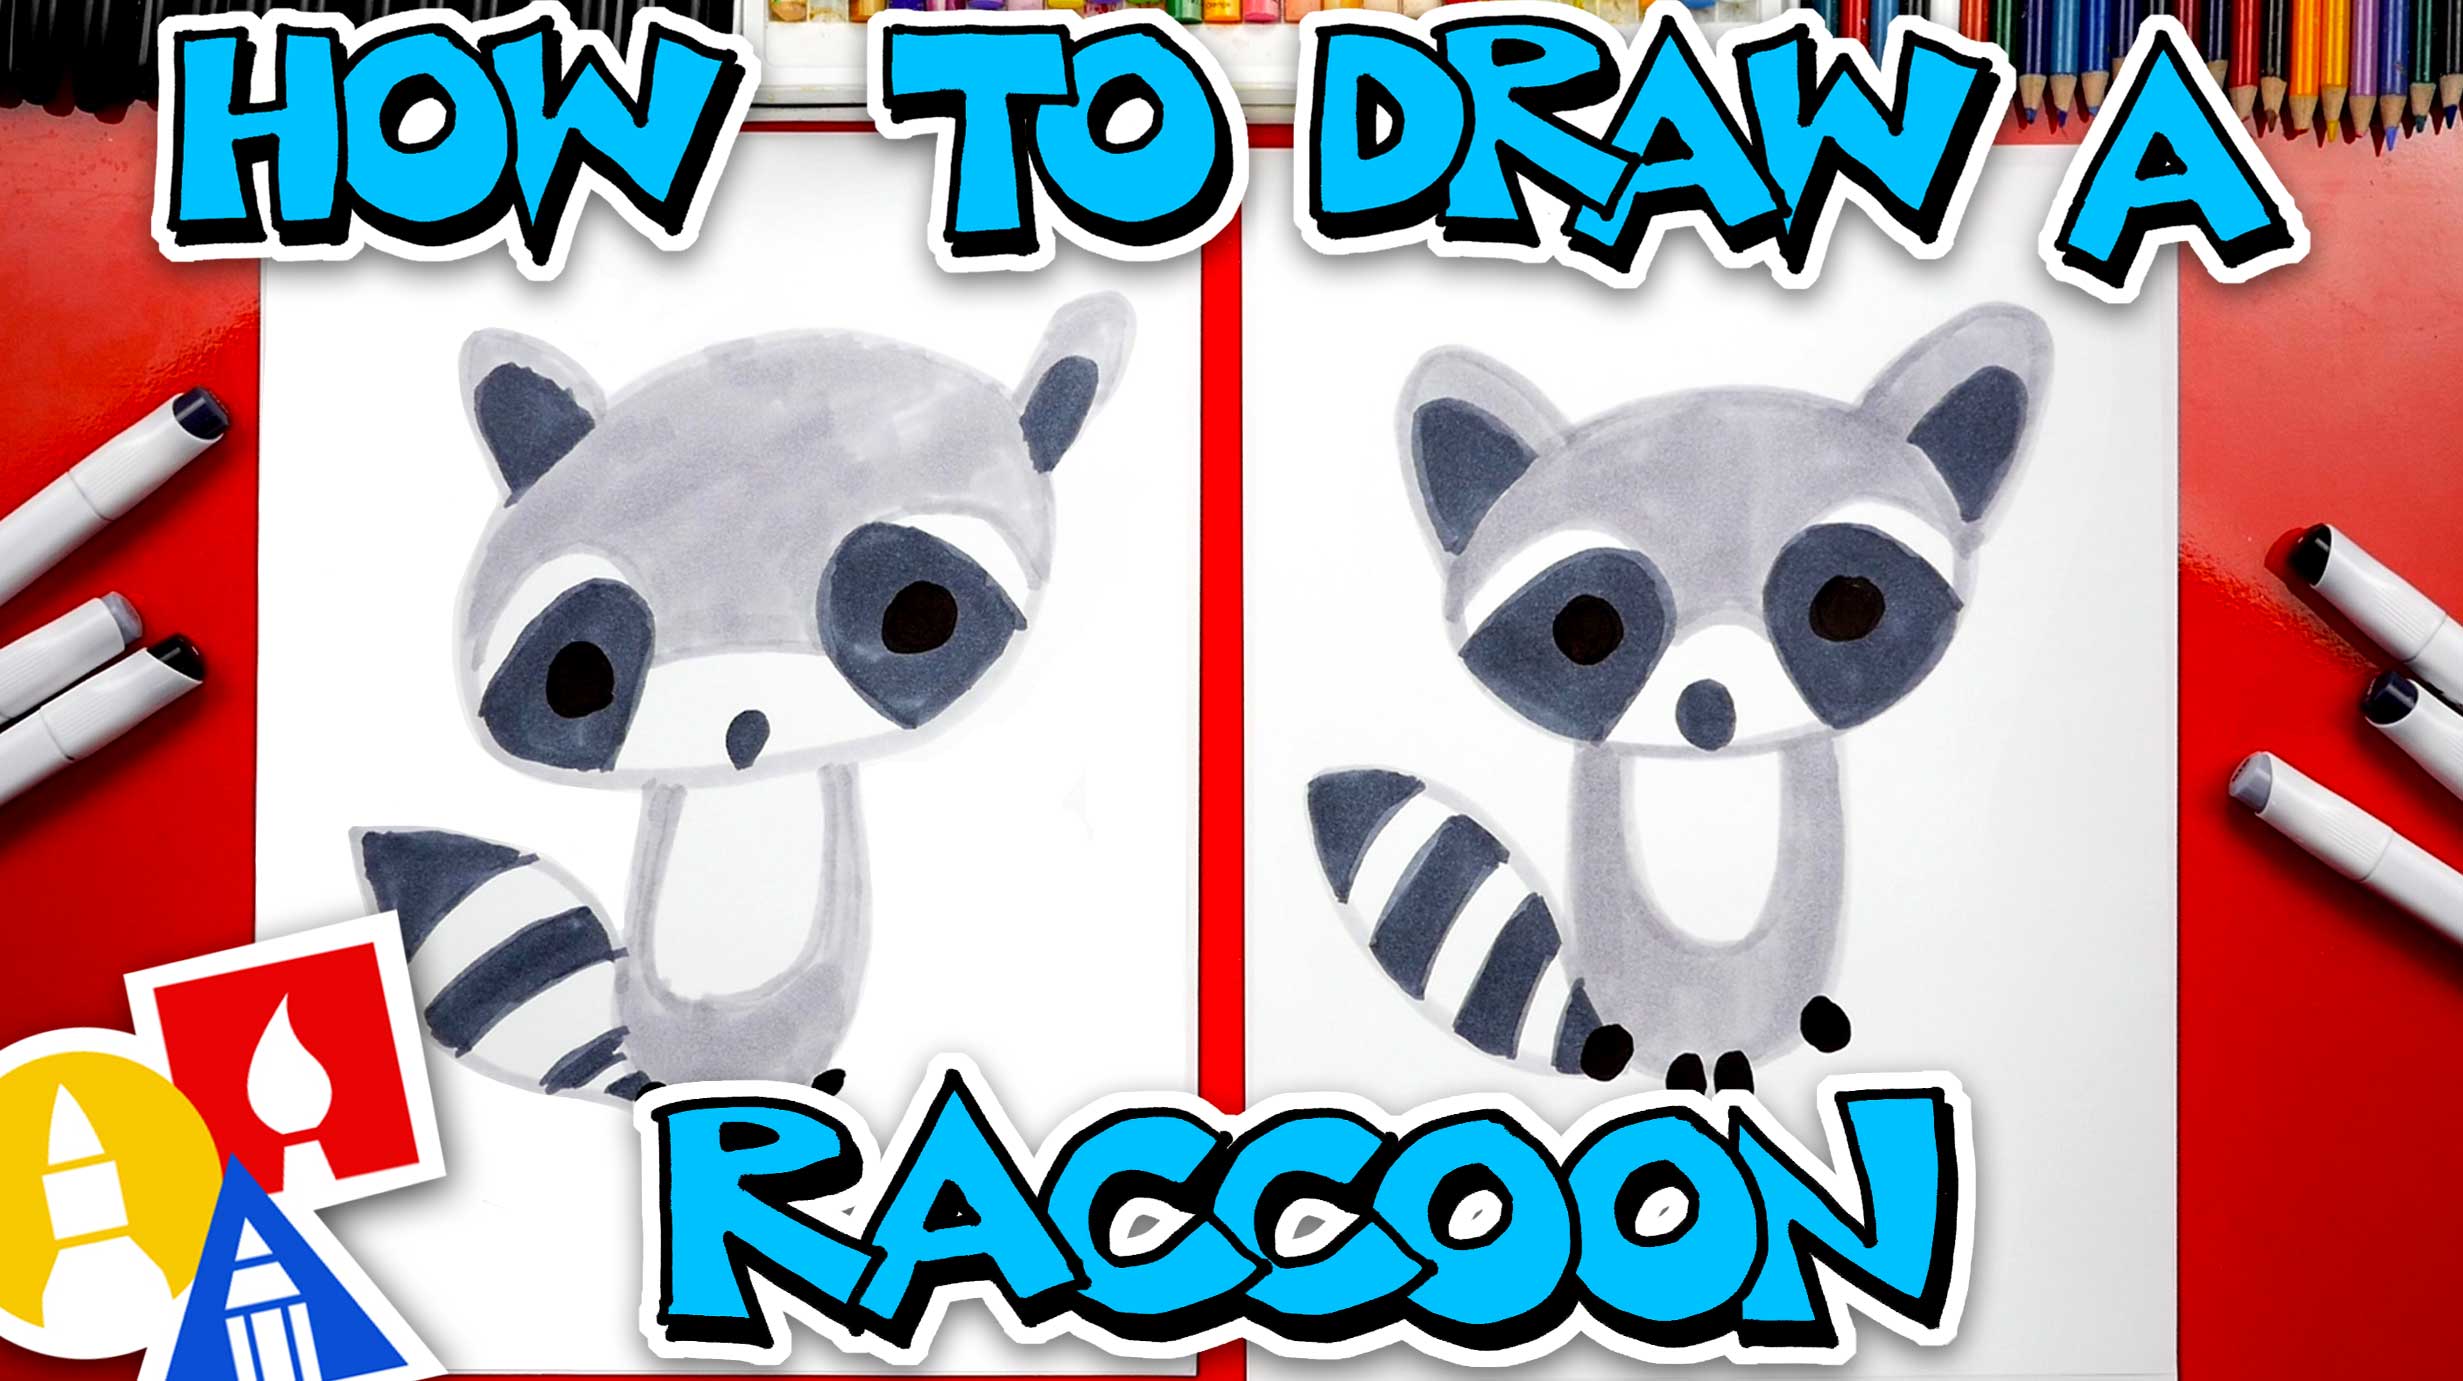
If you want to take your silly raccoon drawing to the next level, grab your colored pencils or markers and add some vibrant colors! Raccoons typically have gray fur, black masks, and dark-colored paws. Feel free to add your own twists and use any colors you like. Let your imagination run wild!

Conclusion
Congratulations, you've successfully created a silly raccoon drawing! This fun and engaging activity is perfect for kids and adults alike. Remember, the key to a silly raccoon drawing is to let go of perfection and embrace your creativity. Have fun experimenting with different expressions, poses, and colors. Happy drawing!